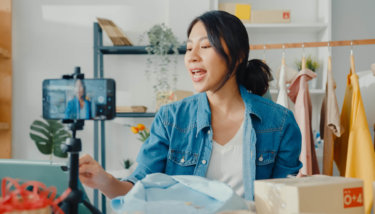
Live event streaming has become one of the most effective ways to deliver real-time video content directly to your audience – whether you’re hosting a live sporting event, worship service, live concert, or news broadcast. With the growing shift toward direct-to-consumer streaming, now is the time to take your event online, and unlock access for a global audience!
But learning how to live stream an event successfully involves more than just pressing “Go Live.” The most impactful streams are backed by a solid production plan, a reliable tech setup, and a clear content strategy. This guide will give you everything you need to achieve that from start to finish!
Whether you’re a first-timer or leveling up your current production, you’ll find practical tips, tool recommendations, and workflow strategies to help you start streaming with confidence.
Ready to go live? Let’s get started!
Step 1: Define Your Event & Streaming Goals
Before diving into gear or software, step back and define what your event is – and what success looks like. This clarity drives every decision you make, from how complex your production needs to be to which streaming platform will support your goals best.
Clarify the Event Type & Content Format
Start by identifying the type of event you’re hosting. Different formats have distinct technical needs, viewer expectations, and monetization potential:
| Event Type | Content Format | Setup and Production Tips |
|---|---|---|
| Sports Events | Matches, exhibitions, or training sessions. | Often benefit from multi-camera setups, real-time commentary, and replays. |
| Faith Services | Weekly sermons, worship sessions, or virtual conferences. | Consistency, reliability, and community tools like live chat matter most. |
| Charity Events | Donation drives, auctions, or benefit performances. | Prioritize real-time audience engagement and donation integrations. |
| Performances | Concerts, comedy shows, or theater productions. | High production quality and clear audio are critical, especially if streams are monetized via PPV (pay-per-view). |
| News & Commentary | Press briefings or interviews. | Immediacy and the ability to stream across multiple platforms can be key. |
| Instructional Events | Webinars, fitness classes, or town halls. | Interaction tools and on-demand replay options add value here. |
Tip: Pair your event type with your content style. A concert and a coaching session might use similar setups, but their audiences expect different outcomes – premium quality vs. hands-on guidance, for instance.
Define Your Streaming Goals
What do you want your live stream to achieve? Common goals include:
- Growing real-time viewership and engagement
- Monetizing with ticket sales, subscriptions, or donations
- Building a loyal community through live chat and interaction
- Creating content for a video-on-demand (VOD) library
- Generating leads through registration or gated access
Your goals shape decisions like:
- Access: Will the event be public, or restricted to paying or invited viewers?
- Monetization: Free for exposure, or paid to drive revenue?
- Frequency: One-time event or recurring series?
Match Production Complexity to Goals
Production setup should reflect your stream’s goals and audience expectations – not exceed them unnecessarily. A solo Q&A may only need one camera, while a live concert could call for a multi-camera setup and crew.
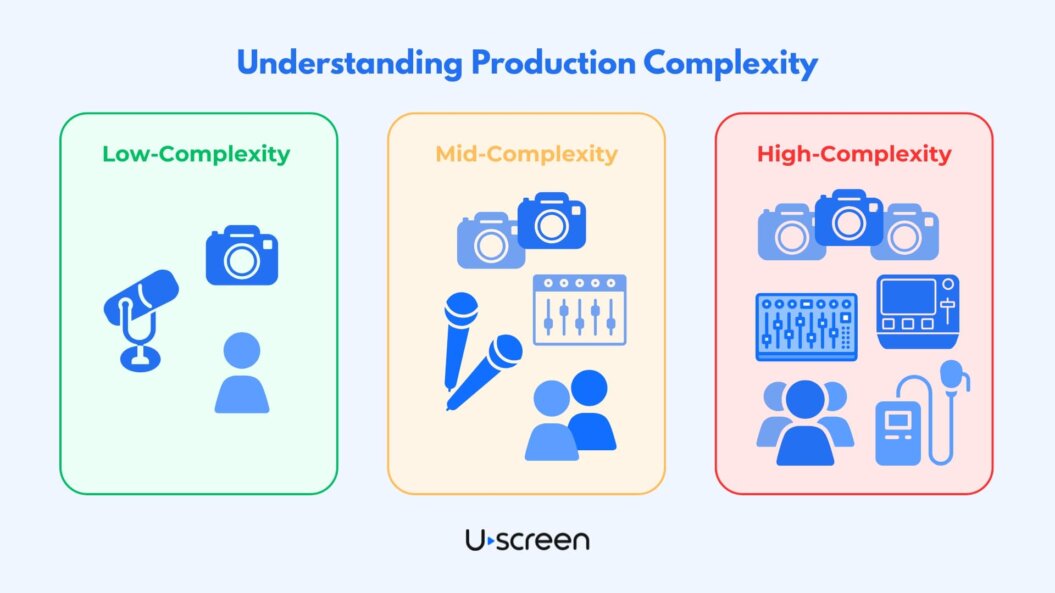
- Low-complexity: Single camera, solo host, minimal visuals
- Mid-complexity: Two angles, simple switching, overlays
- High-complexity: Multi-cam, synced media, crew coordination
Example: Weightlifting House
Weightlifting House is a digital media brand focused on the global weightlifting community.
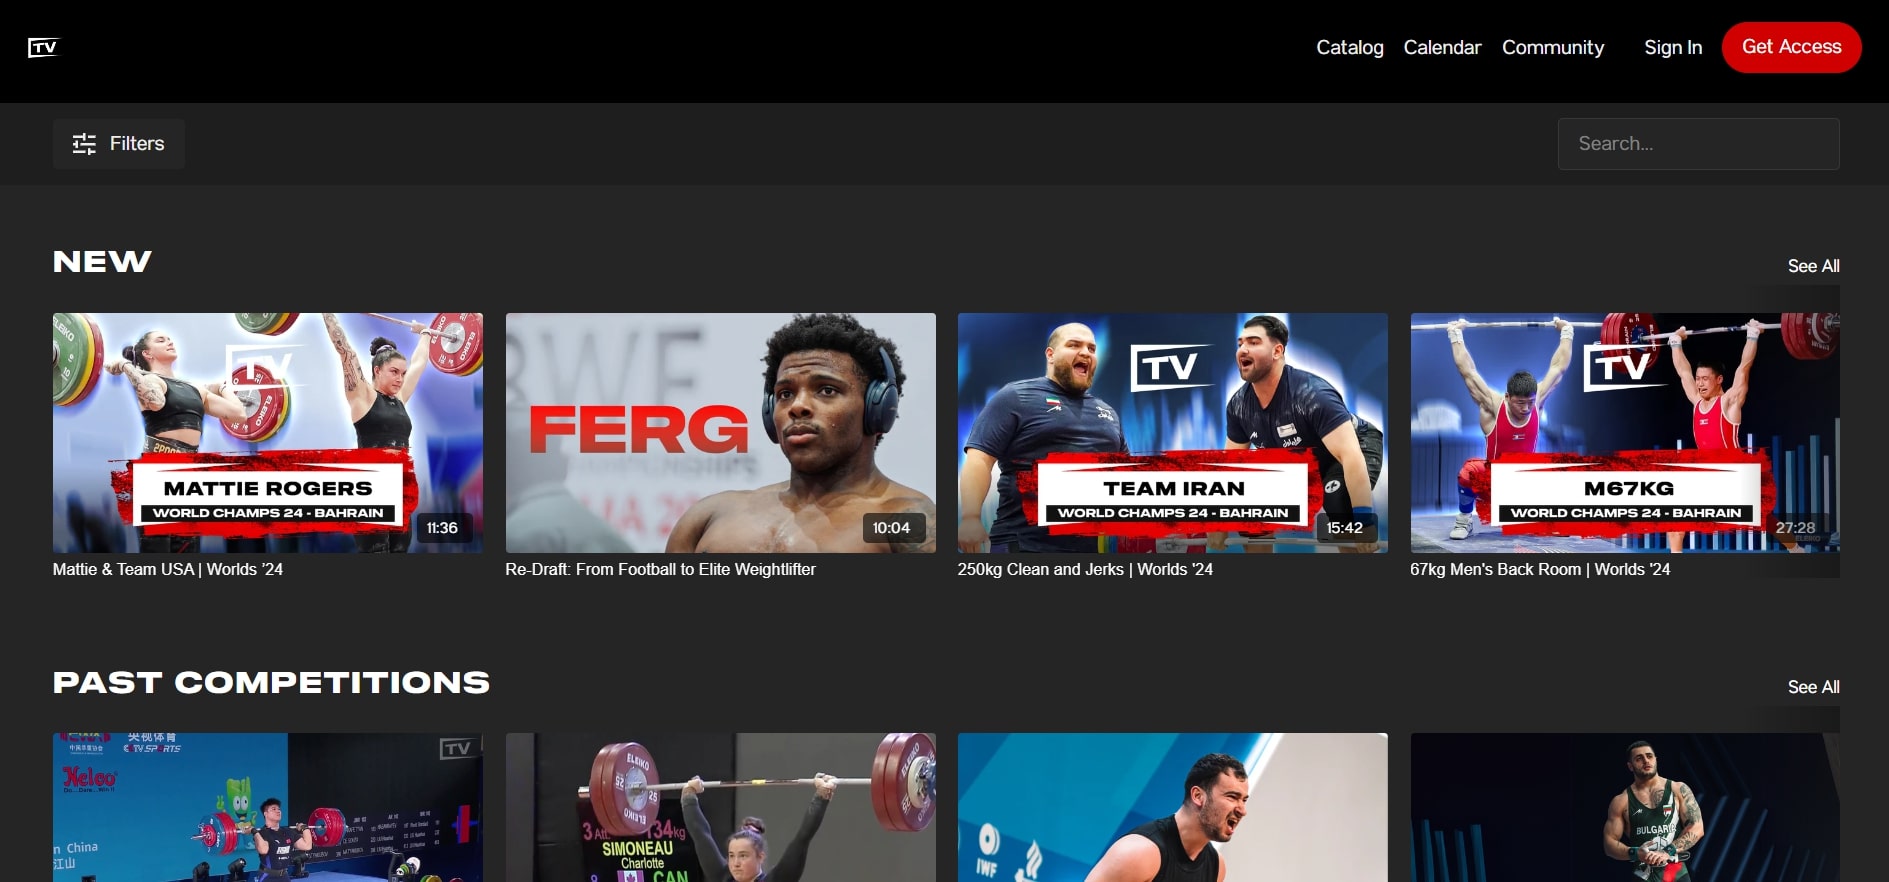
They deliver premium live and on-demand coverage for the international weightlifting community. Their streaming approach is a clear example of how matching your event type and content format to your goals can drive both engagement and revenue.
- Event Type: Sports Events – live coverage of international weightlifting competitions, such as the European Championships, along with exhibition-style training hall sessions. These sports formats benefit from multi-camera setups, real-time commentary, and replays to meet audience expectations.
- Content Format: Matches, exhibitions, or training sessions – Weightlifting House streams full competition sessions with professional commentary, plus behind-the-scenes “back-room” coverage and athlete training footage, giving fans both real-time action and deeper context.
- Streaming Goals: Monetize through subscriptions and per-session pay-per-view, grow a loyal global fanbase, and strengthen community engagement through consistent, high-quality coverage.
- Production Complexity: High complexity – managing rights-secured live feeds from major competitions, coordinating multi-camera production, delivering fast turnarounds for on-demand access, and producing supplementary editorial content.
By aligning their sports event type and match/training content format with a clear monetization strategy, Weightlifting House has built a scalable streaming model that delivers value to both live viewers and on-demand audiences.
Summary: Your To-Do List
- Define your event objective (e.g., raise donations, gain subscribers, boost reach).
- Identify your target audience and expected viewer count.
- Choose your access model: public vs. private, free vs. paid.
- Pick your monetization approach and pricing for your live event: Pay-per-view (PPV), Subscriptions, Donations
- Decide whether replays or highlight clips will be offered.
- Document everything in a pre-production planning template.
Step 2: Build a Realistic Streaming Workflow
A successful live stream doesn’t just happen on the day of the event – it’s the result of a well-planned, repeatable production workflow. Whether you’re producing a solo faith broadcast or a multi-camera sports stream, documenting your process is one of the most effective ways to reduce risk, stay organized, and deliver a seamless viewer experience.
Understand the 3 Phases of Live Event Production
A strong streaming workflow breaks down your event into three distinct phases:
- Pre-Production: This is your planning zone – build the structure, assign roles, prep assets, and test your setup.
- Production (Live): The go-live moment. Here, you’re managing gear, switching scenes, moderating the chat, and reacting to any real-time challenges.
- Post-Production: After the event ends, you’ll repurpose the content, review performance, and follow up with your audience.
Even simple events benefit from planning tools like checklists, timelines, and documentation. If you’re juggling creative and technical duties yourself, this structure becomes even more essential.
Key Planning Tool: The Run-of-Show (RoS)
The run-of-show document acts as your event blueprint. It outlines:
- Segment start and end times
- Camera, overlay, and transition cues
- Speaker notes and prompts
- Team roles and responsibilities
- On-screen CTAs or sponsor mentions
The RoS ensures everyone is aligned – and reduces stress when the stream goes live.
Your Run-of-Show Template
Grab your free Run-of-Show template below!
Designed to help you plan and manage your next live stream with ease.
Plan According to Complexity
The amount of planning you need will depend on the size and complexity of your stream:
- Low-complexity (e.g., solo coaching session): a week – or less – of prep
- Mid-complexity (e.g., small team with scene switching): 1 – 3 weeks
- High-complexity (e.g., concerts or sports events): 4 – 6+ weeks with rehearsals and a larger crew
Define Your Roles Early
Assign and confirm these common live stream roles:
- Producer: Oversees the full production and keeps it on track
- Director: Operates the switcher and manages the visual flow
- AV Technician: Handles gear setup and signal flow
- Moderator: Manages chat and community interaction
- Talent: Speakers, hosts, performers
Use collaborative tools like Trello, Notion, or Google Sheets to assign responsibilities and track progress.
Example: Seminary Now
Seminary Now is a subscription-based platform delivering theological education through video.

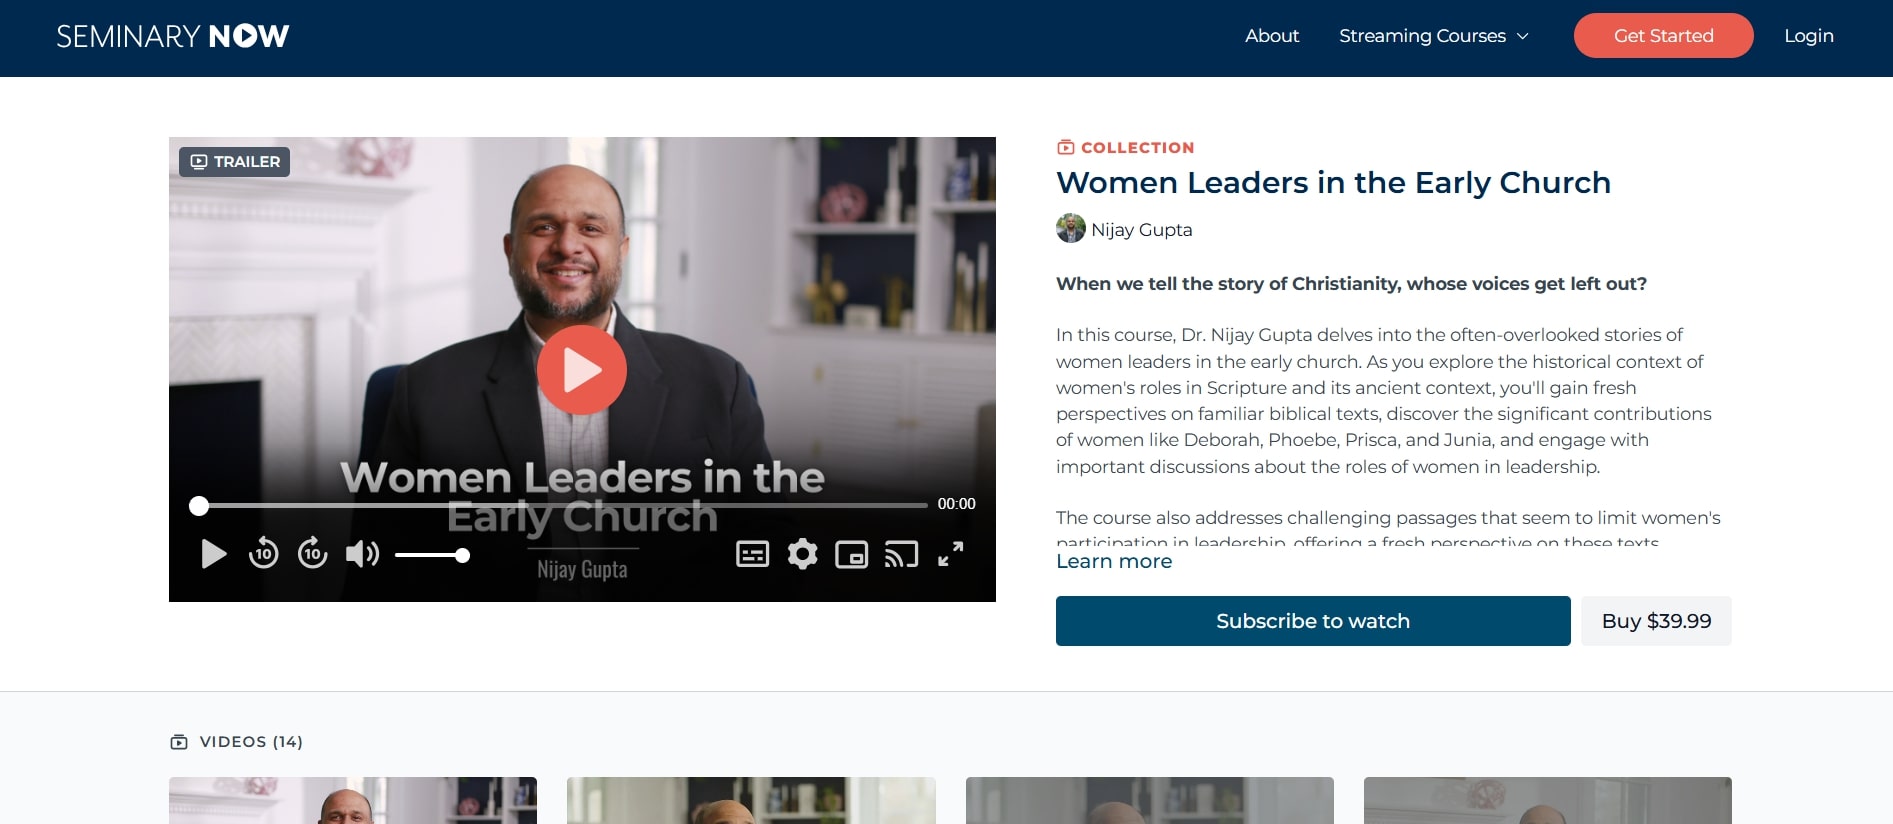
Their live lectures and teaching series likely rely on detailed run-of-show documents and advance coordination between speakers and AV staff – ensuring smooth transitions and professional delivery during each stream.
Summary: Your To-Do List
Pre-Production
- Define your event structure: title, segments, guest list, and expected runtime
- Assign roles and confirm team availability
- Build a detailed run-of-show (RoS)
- Create visual assets: overlays, slides, lower-thirds, countdowns
- Set up and test your gear in the actual streaming environment
- Begin audience promotion across email, social media, and landing pages
Production (Live)
- Begin setup 2 – 4 hours early
- Walk through the RoS with your team
- Monitor stream health: bitrate, sync, dropped frames
- Assign someone to manage chat and engagement moments
- Stay consistent with overlays, scenes, and transitions
Production (Live)
- Record and archive the full stream
- Time-stamp key highlights
- Edit and publish replay content
- Send recap emails or follow-up CTAs
- Review analytics to spot trends and improve next time
- Host a team debrief to identify what worked – and what didn’t
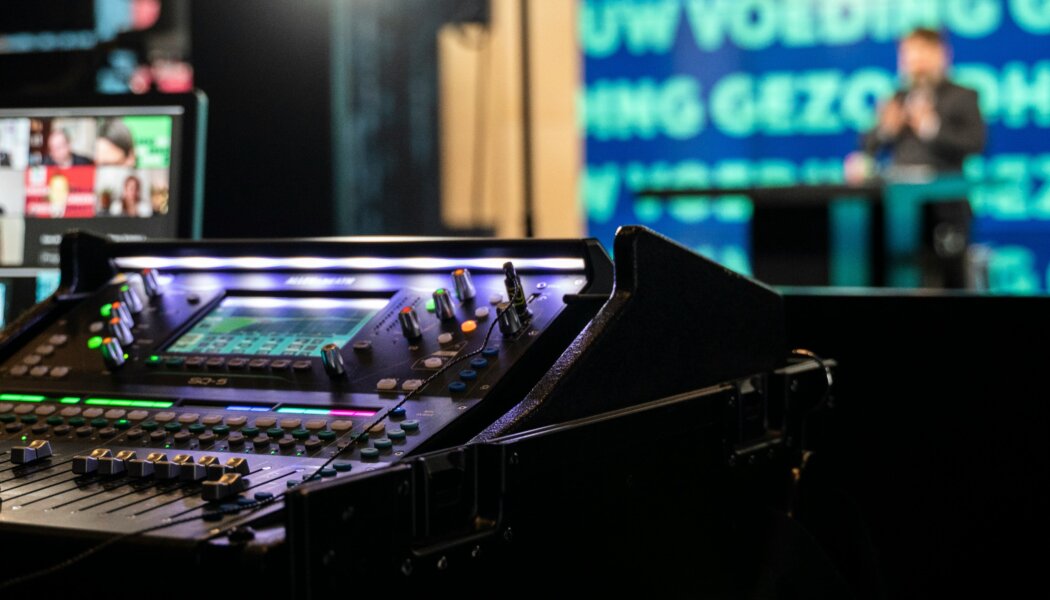
Step 3: Set Up Your Gear & Software
Your live streaming equipment and streaming software form the technical backbone of your event. The right setup ensures your video looks sharp, your audio is clear, and your stream runs smoothly from start to finish. The key is to build a system that fits your event type, team size, and production goals – without overcomplicating things.
Understand the Core Components
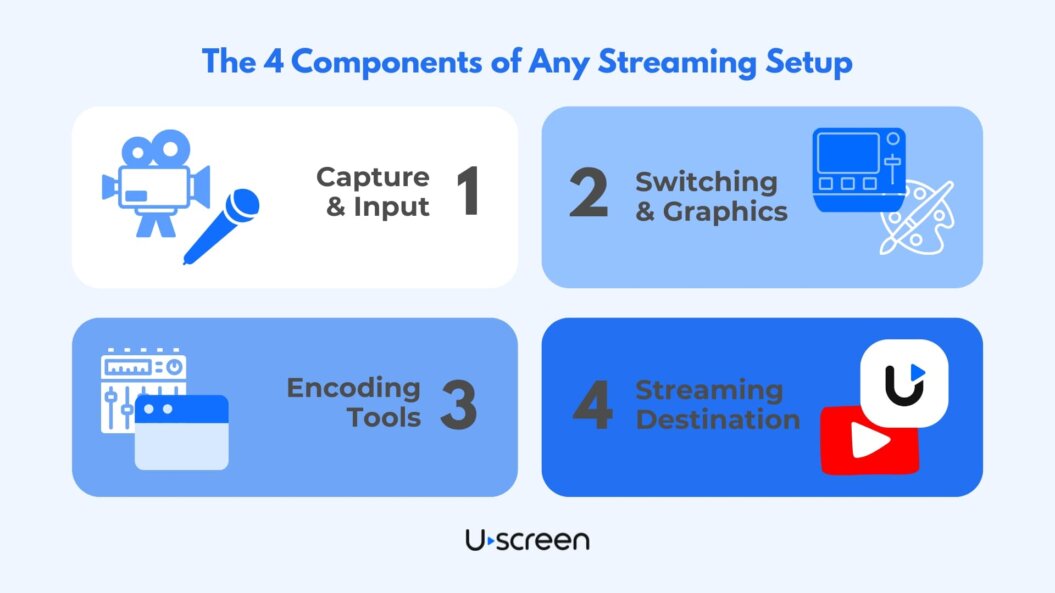
Your live stream setup typically includes four major categories:
Category 1: Capture/Input Devices
- Cameras: Webcams, mirrorless cameras, DSLRs, or camcorders.
- Microphones: USB mics, lavaliers, handheld XLR mics – choose based on audio clarity and environment.
Category 2: Switching & Graphics
- Video Switchers: Hardware (e.g., ATEM Mini) or software (e.g., OBS, vMix) for managing camera angles and overlays.
- Visual Overlays: Lower-thirds, title cards, countdowns, and sponsor visuals that appear on screen.
Category 3: Encoding Tools
- Software Encoders: OBS Studio, Wirecast – flexible and budget-friendly.
- Hardware Encoders: Dedicated devices like Teradek or ATEM Mini Pro – better stability for high-demand streams.
Category 4: Streaming Destination
Your chosen streaming platform (e.g., Uscreen, YouTube, etc.) receives and distributes the encoded video to your audience.
You’ll also need to think about:
- Connectivity: HDMI or SDI cables (SDI is better for long runs and pro setups).
- Audio Interfaces: Mixers or USB interfaces to route audio cleanly into your encoder.
- Power: Use surge protectors, battery backups, and locked-in power adapters to avoid surprise outages.
We already have a comprehensive guide to finding the perfect live streaming gear based on your unique needs. Read it below!
The Best Live Streaming Equipment for ANY Budget

Crawl-Walk-Run: Scale Your Setup with Confidence
If you’re new to streaming, start with a simple configuration and build up as your needs grow.
Crawl: Webcam or DSLR + USB mic + OBS Studio. Best for solo streamers or test events.
Walk: Two cameras + ATEM Mini switcher + lavalier or handheld mics. Ideal for small teams or mid-level events.
Run: Multi-cam SDI system + hardware switcher + separate audio mixer + dedicated encoder. Recommended for concerts, sports events, or multi-crew productions.
Document your signal path (camera to switcher, to encoder, to platform) to spot issues before they happen.
Example: World Watch News
World Watch News produces daily current events content for students.
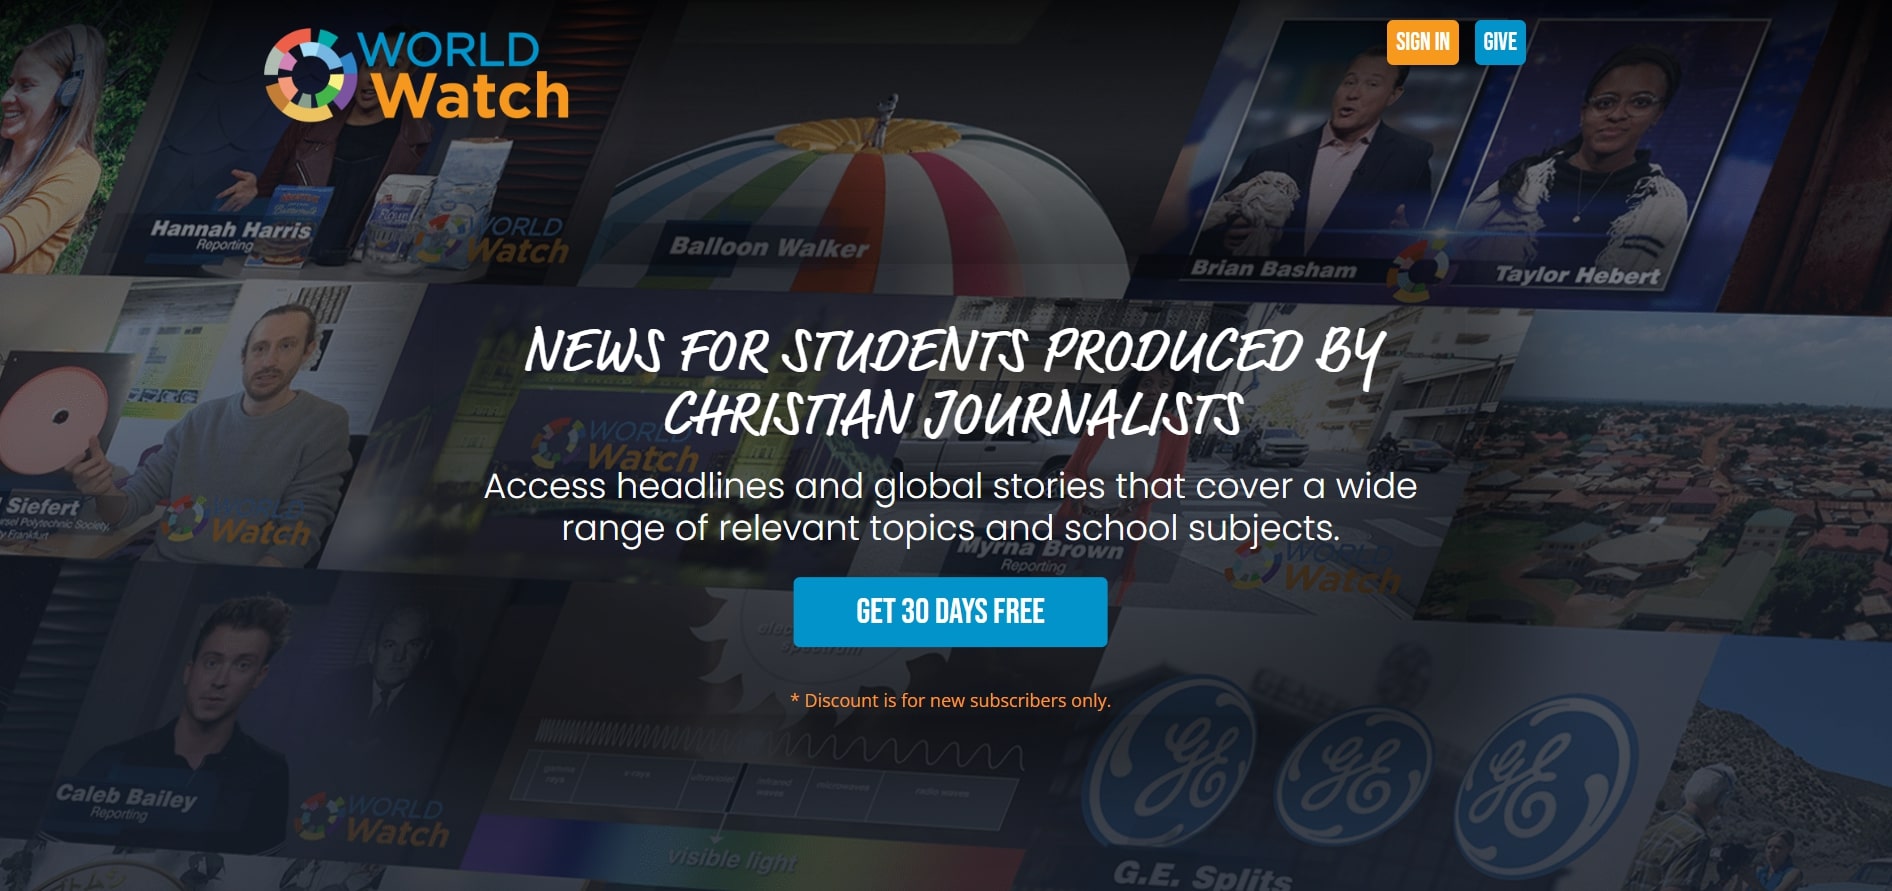
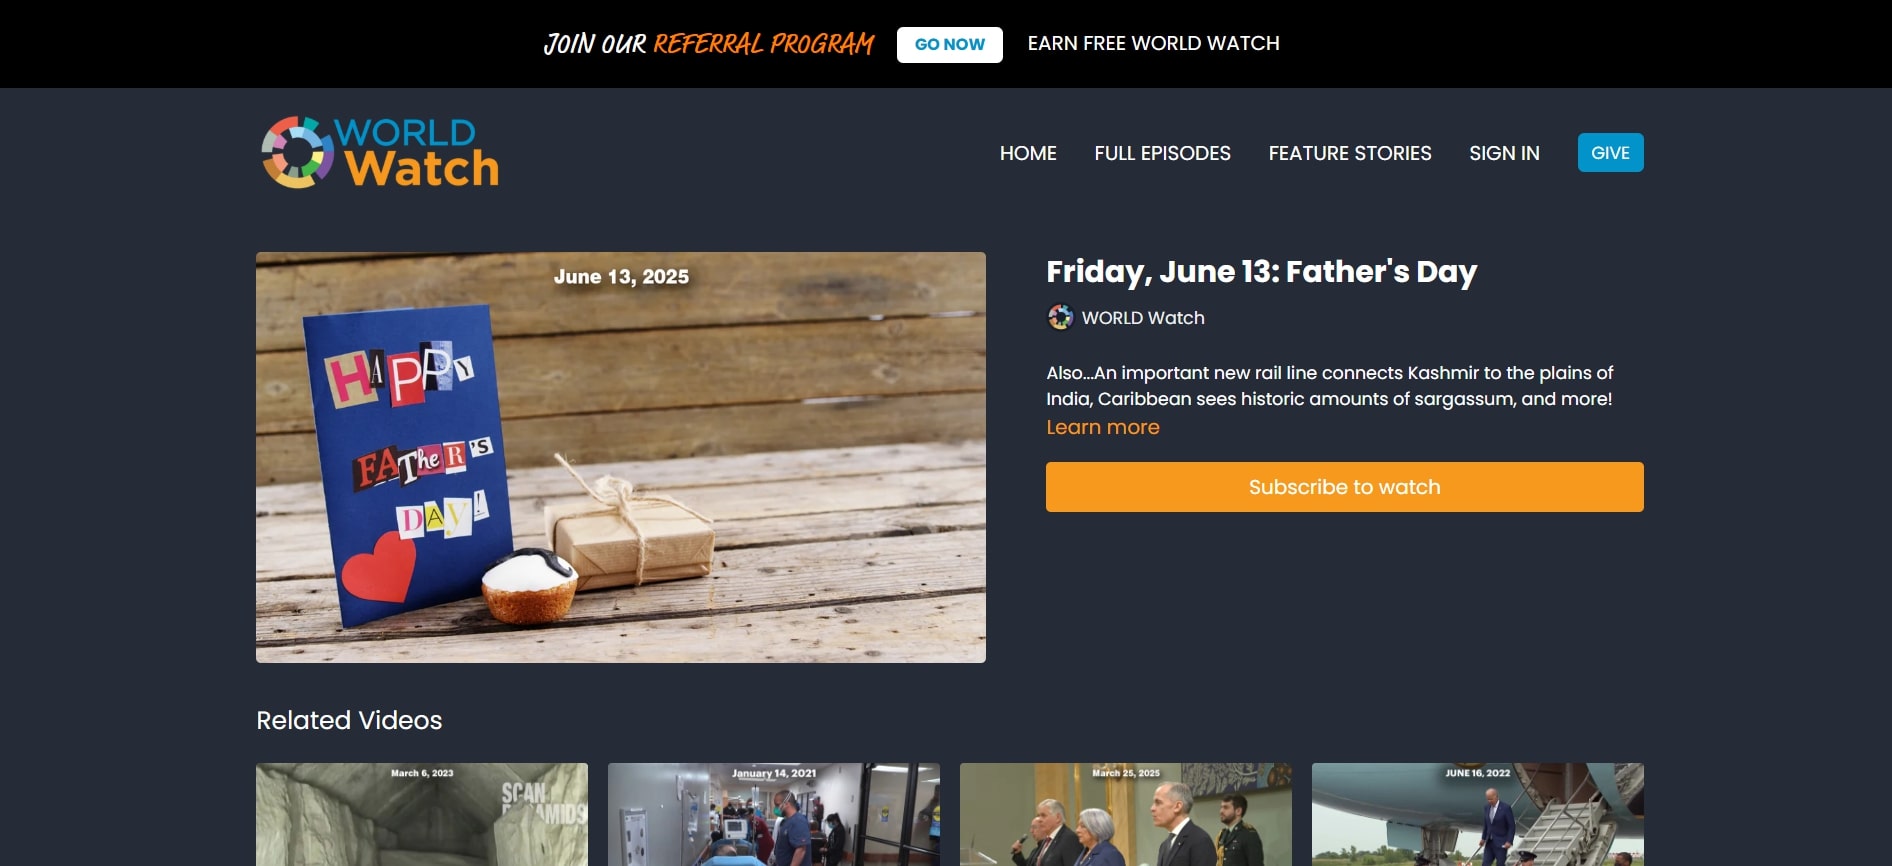
Their consistent publishing schedule and educational focus suggest a streamlined, studio-based gear setup – likely using fixed multi-camera angles and software switching. This allows for rapid live-to-VOD transitions while maintaining a reliable visual format.
Summary: Your To-Do List
- Audit your current equipment and identify gaps based on event complexity.
- Select cameras appropriate for your content type and venue layout.
- Choose microphones that minimize ambient noise and deliver clear speech or performance audio.
- Set up your switching software or hardware, and test transitions and scene flow.
- Add overlays and visuals to boost professionalism and reinforce your brand.
- Configure your encoder, matching the settings required by your streaming platform (e.g., bitrate, resolution, frame rate).
- Test all signal paths to ensure clean, synced inputs with no delay or technical interference.
- Run a full-length rehearsal to evaluate stream quality and long-term stability using your actual gear and internet connection.
Step 4: Choose the Right Live Streaming Platform
Your streaming platform does more than just broadcast your video – it shapes your audience’s experience, determines how you make money, and affects how much control you have over branding and content. Choosing the right platform is one of the most important decisions in your live event setup.
We’ll cover the basics in this section, but for more detailed guidance, check out our guide to choosing the right live streaming platform!
Ranked: The Best Live Streaming Platforms for Creators
Platform Types: What Are Your Options?
Most live streaming platforms fall into four general categories:
- DIY Platforms: YouTube Live, Facebook Live, Twitch. Great for reach and simplicity, but offer limited control over monetization and branding.
- Monetization-Focused Platforms: Video-first platforms focused on monetization, like Uscreen. Designed for creators and organizations that want to monetize streams through pay-per-view, subscriptions, or donations – with branding, analytics, and content control built in.
- Webinar & Meeting Tools: Platforms like Zoom or Crowdcast. Best for education, internal meetings, or smaller community sessions.
- Custom/Advanced Solutions: RTMP streams using CDNs or your own live streaming servers. Best suited for tech-savvy teams with developer support and complex delivery needs.
Each comes with trade-offs – so let your goals, audience, and team capacity guide the decision.
What to Look For in a Live Streaming Platform
Map your goals to platform features using the following key criteria:
- Monetization Tools: Does it support PPV, subscriptions, or donations?
- Access Controls: Can you gate access via password, tickets, or member logins?
- Viewer Experience: Is the stream high quality and mobile-friendly?
- Engagement Features: Does it support chat, polls, on-screen CTAs, or countdowns?
- Customization: Can you brand the player and embed streams on your live streaming site?
- Support & Reliability: Is live support available during your event? Is the platform known for uptime?
- Analytics: Does it provide insights into viewership, engagement, and revenue?
- Native Apps: Will it be easy to scale with your own live streaming apps to reach audiences on mobile and TV?
Also factor in your team’s experience level and available time. A solo streamer may need a plug-and-play platform with automation. A larger team may benefit from deeper customization and integrations.
Summary: Your To-Do List
- Clarify your core goals: Are you focused on monetization, branding, engagement, or content longevity?
- Evaluate platforms based on feature sets and audience fit.
- Run a test stream on top contenders to compare setup ease and performance.
- Review integrations and other features needed for your stack (e.g., email marketing, CRMs, donation tools).
- Assess pricing: Consider costs by event duration, audience size, and monetization model.
- Think long-term: Will you need a VOD library or evergreen access to past events?
Step 5: Prep and Test Your Setup
Whether you’re streaming a worship service or a live concert, your test run should simulate the real event as closely as possible: same gear, same team, same internet connection.
Why Testing Your Live Event Streaming Setup Matters
A thorough prep and test process helps you:
- Catch major issues like audio dropouts, sync errors, or incorrect stream key settings
- Validate the stability of your internet connection
- Confirm that your encoder, overlays, and scenes are working in sync
- Create a backup plan in case of failure
- Build team confidence with a full rehearsal
Think of this phase as your dress rehearsal. It’s not just about powering things on – it’s about replicating your entire live environment.
What to Test (and How)
Break your testing process into focused categories:
- Network & Internet Connection
- Use a wired Ethernet connection – avoid Wi-Fi
- Run a speed test on-site and aim for 2 – 3x the required upload speed (e.g., at least 10 Mbps for a 1080p stream at 4 Mbps)
- Monitor for jitter and packet loss with tools like Speedtest or PingPlotter
- Test during the time of day you’ll be streaming to mimic bandwidth conditions
- Gear & Scene Switching
- Power on all gear, including backups
- Cycle through all scenes and transitions in your switcher
- Check that overlays, countdowns, and pre-recorded assets render properly and are timed accurately
- Audio & Video Quality
- Check mic levels and monitor with headphones for feedback, hum, or sync issues
- Adjust lighting and white balance for consistency
- Look for visual distractions in the background
- If you’re streaming with an audience or live talent, simulate ambient conditions
- Encoder & Streaming Platform
- Confirm encoder settings match your platform’s recommended specs (resolution, frame rate, bitrate, audio codec)
- Double-check stream key, destination URL, and aspect ratio
- Run a private test stream on your chosen platform and verify stream quality, stability, and auto-archiving
- Redundancy & Backup Planning
- Have a secondary encoder profile saved and ready
- Prepare a backup internet option (e.g., mobile hotspot or bonded LTE)
- Keep spares of critical items: batteries, mics, cables, adapters
- Save your switcher scenes and layout to a backup file or cloud drive
- Full Rehearsal
- Run a full test stream using the finalized run-of-show
- Rehearse team communication (walkie-talkies, Slack, etc.)
- Have on-screen talent rehearse timing, transitions, and mic handling
- Stream-Day Checklist
- Build a checklist of final tasks (e.g., charge batteries, check mic input, validate stream key)
- Assign clear ownership for each item
- Print or post the checklist where the team can easily see it
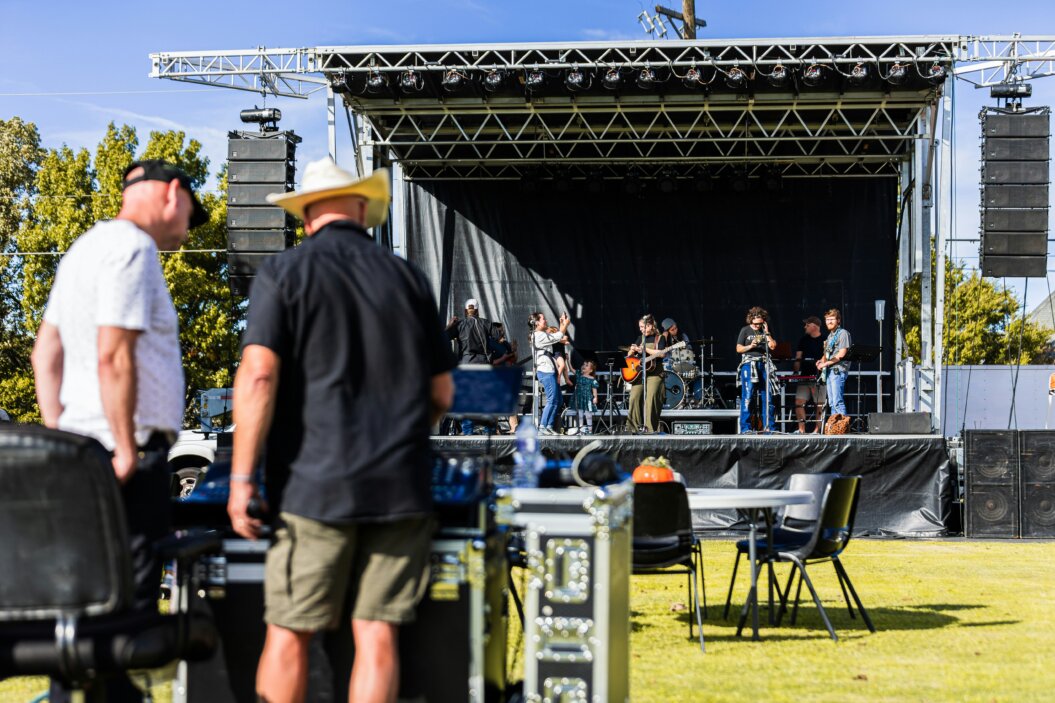
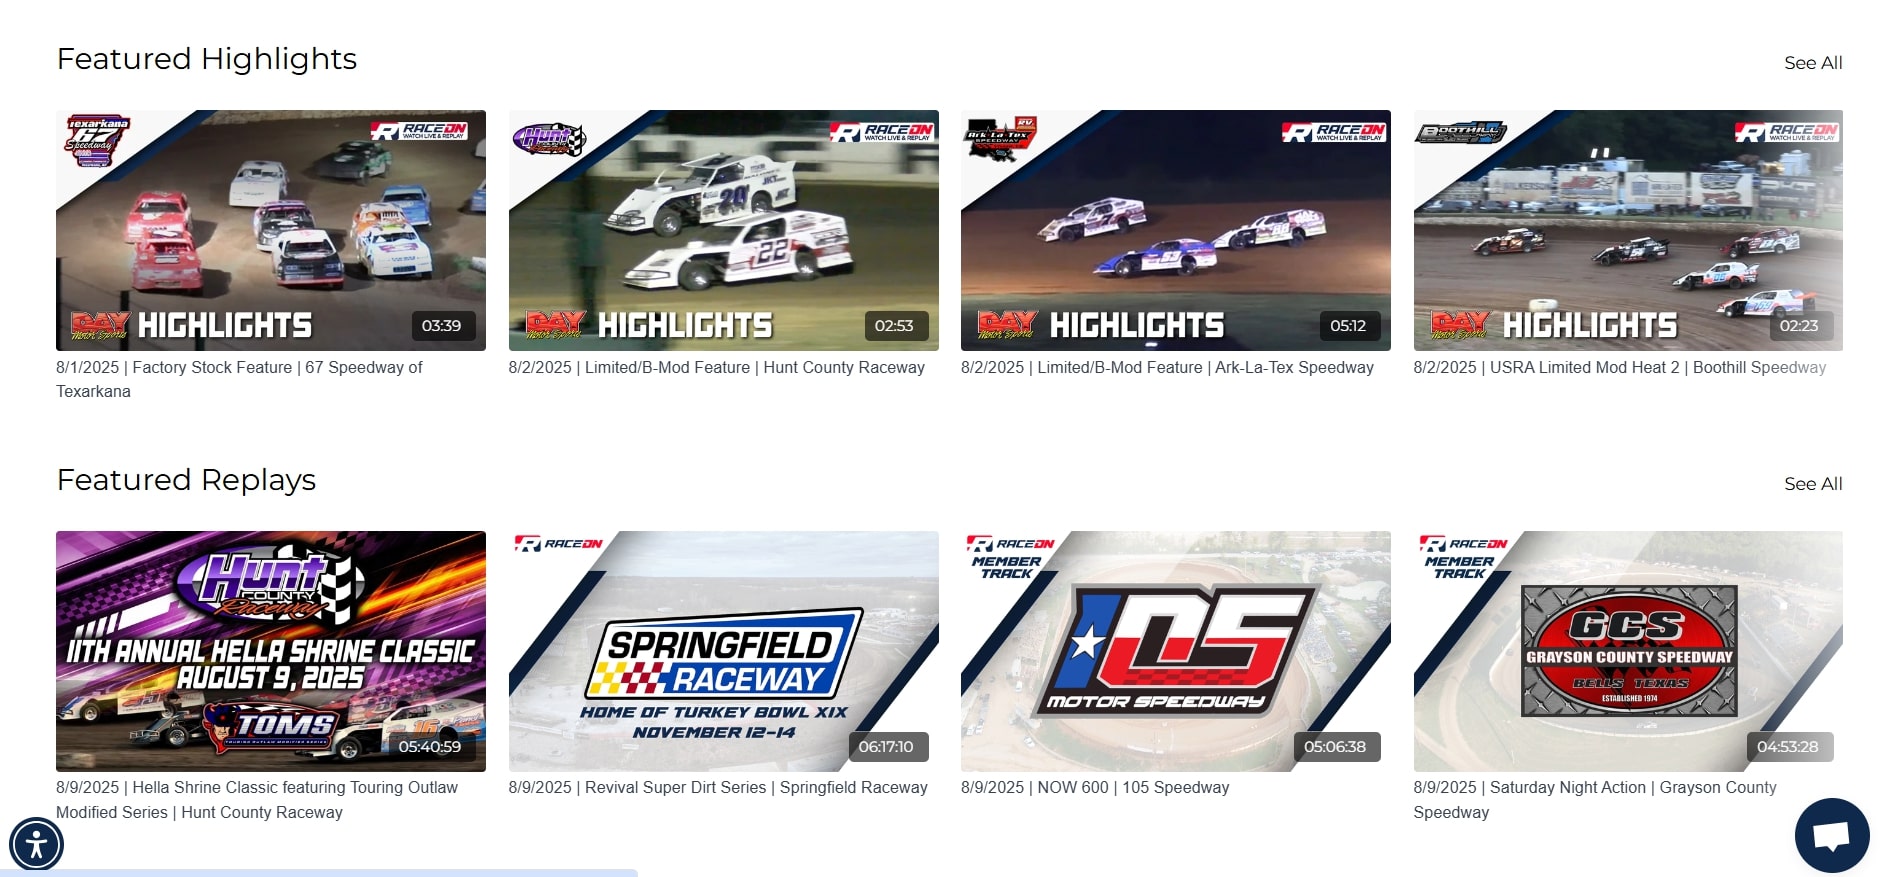
Example: RaceOn
RaceON is a live-streaming platform for dirt-track racing, broadcasting hundreds of events each year from racetracks across the U.S.
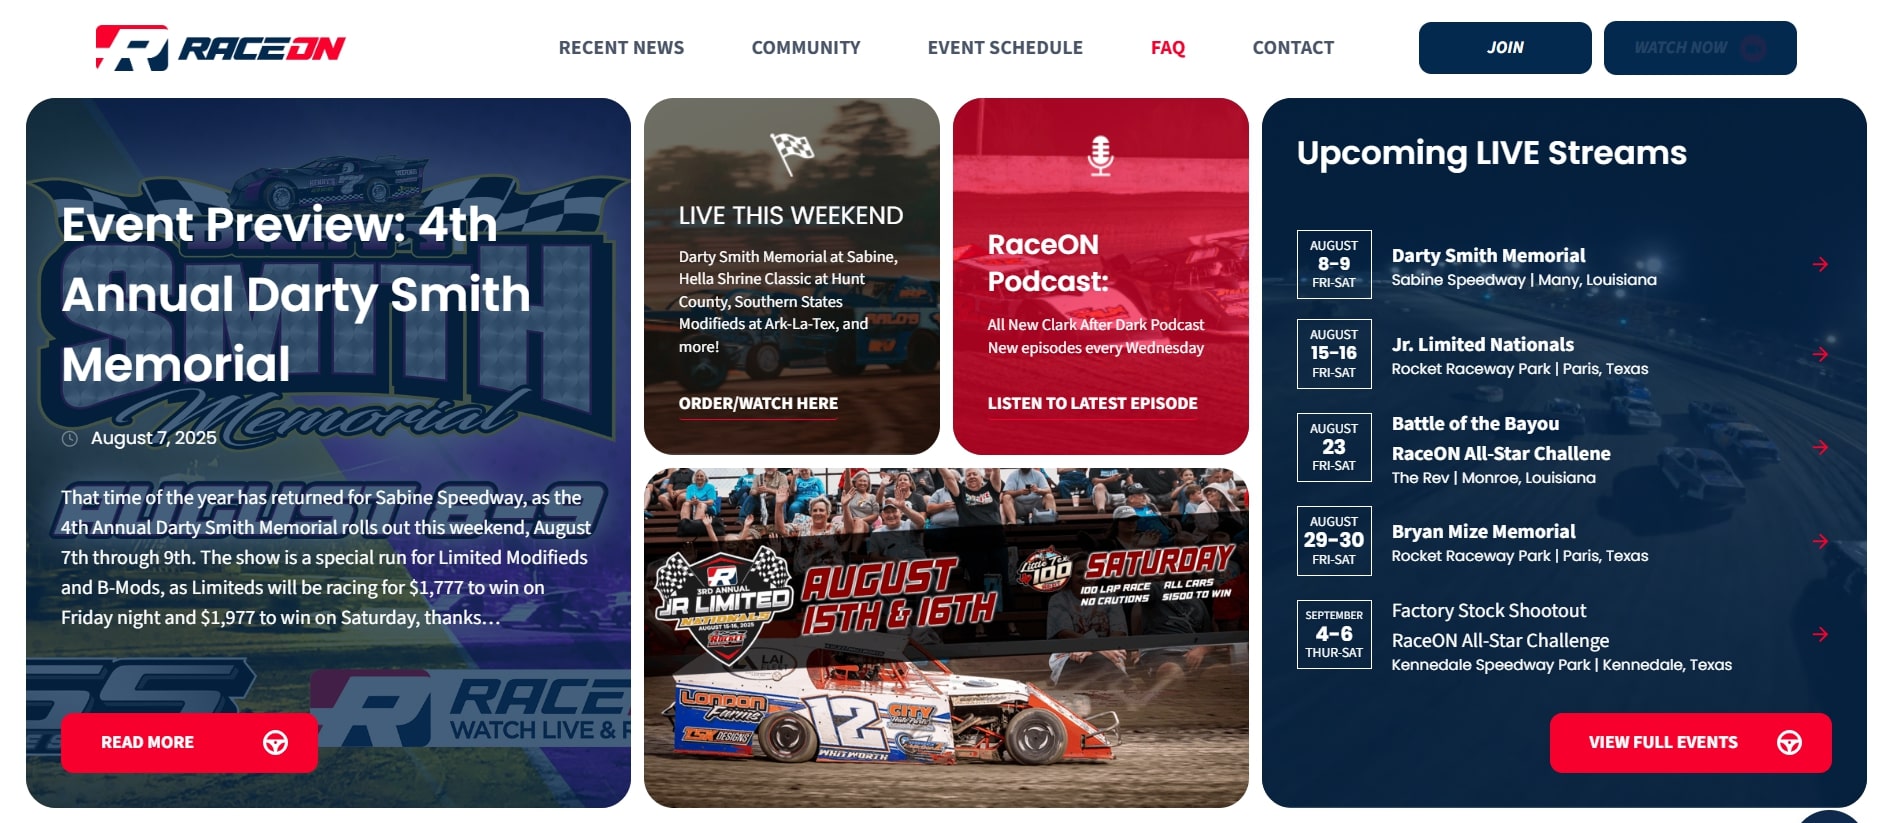
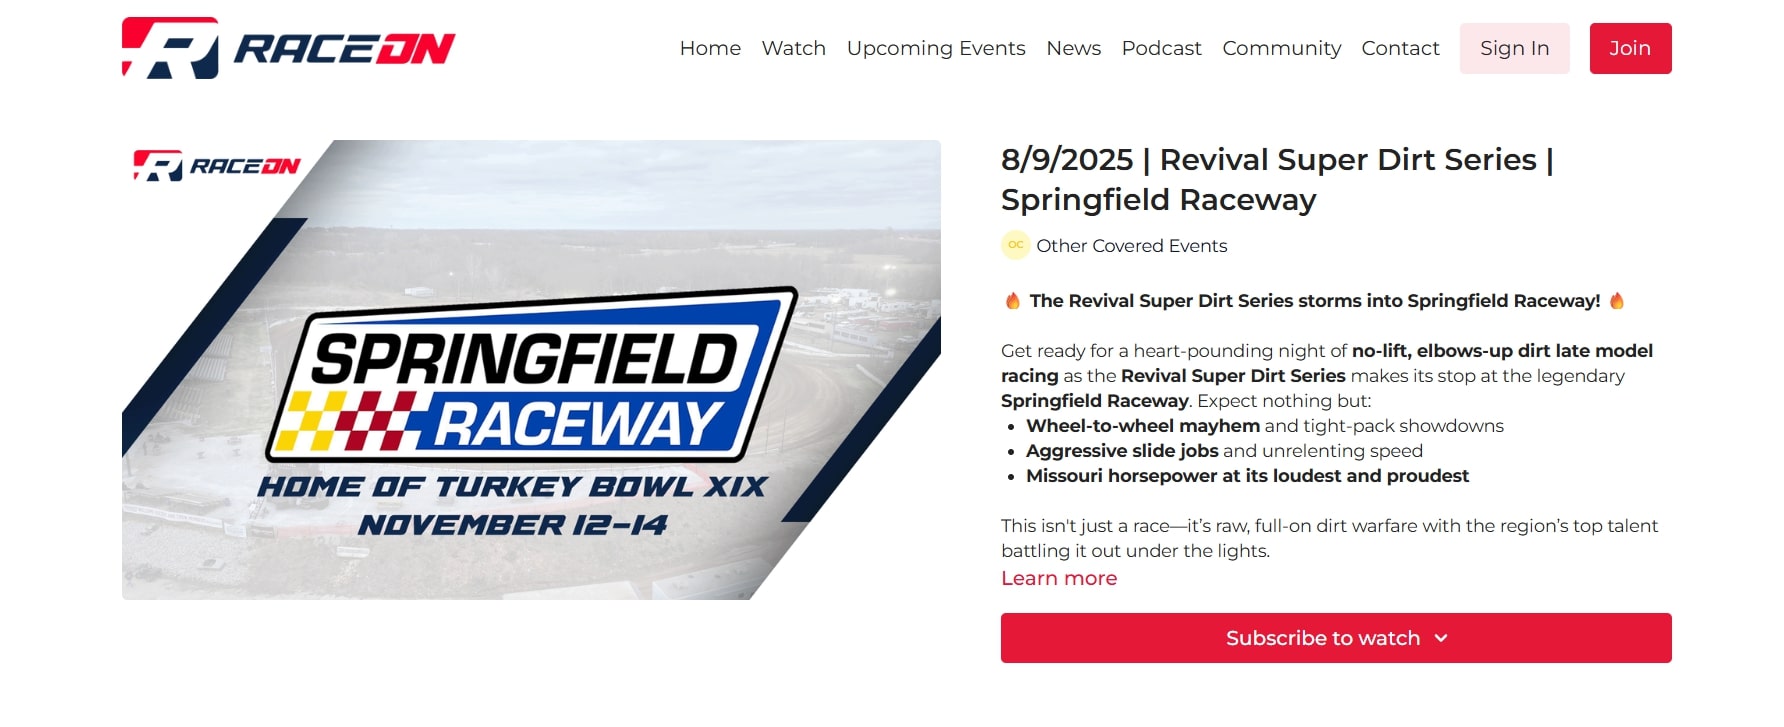
To properly test their streaming setup ahead of each event, RaceOn’s production team would likely…
- Test in real-world conditions – simulating race-day environments to check network stability, encoder settings, and multi-camera switching before each event.
- Verify platform performance – running private test streams across their supported devices and apps to ensure smooth playback for viewers on mobile, web, and smart TVs.
- Prepare backups – keeping secondary internet options, spare gear, and saved encoder profiles ready in case of technical failure.
Summary: Your To-Do List
- Use wired internet and run bandwidth and stability tests
- Test every piece of gear, including overlays and scene transitions
- Check for audio sync issues, lighting problems, and visual distractions
- Validate all encoder and platform settings – including your stream key
- Prepare a backup plan: secondary internet, spare gear, saved scene layouts
- Run a full-length rehearsal using your actual run-of-show
- Build and assign a pre-stream checklist to ensure nothing is missed
Step 6: Go Live and Manage the Production
This is it – live day. All your planning, testing, and prep come together in real time. Whether you’re hosting a streamed sports match or a virtual worship service, your ability to stay calm, communicate clearly, and adapt quickly will define the success of your live stream.
Your Run-of-Show Template
Grab your free Run-of-Show template below!
Designed to help you plan and manage your next live stream with ease.
What Matters Most During a Live Stream
Once your event starts, your job is to keep everything running smoothly. That means:
- Monitoring system performance and encoder stability
- Managing visual flow through scene transitions and overlays
- Engaging your live audience in real time
- Troubleshooting technical issues as they arise
- Maintaining brand consistency and a professional look
Even small live events require coordination. Assigning clear responsibilities before going live helps the team stay focused and reduces mistakes during the stream.
Key Roles During the Stream
Make sure each of these roles is filled – or automated – on stream day:
- Technical Operator: Monitors bitrate, sync, and encoder stats
- Director/Switcher: Handles camera switching, overlays, and transitions
- Moderator: Manages the chat, answers questions, filters spam
- On-Screen Talent: Hosts, speakers, or performers who present content and engage the audience
- Production Lead: Makes real-time calls if things go off-script
Use tools like Slack, walkie-talkies, or simple hand signals for backchannel communication throughout the stream.
Audience Engagement in Real Time
Streaming software and live platforms often support real-time interaction – use those tools intentionally:
- Assign someone to moderate chat and respond to viewers
- Integrate CTAs like subscribe, donate, or register at key points
- Run polls, shoutouts, or audience Q&A to boost engagement
- Display branded visuals and overlays at consistent intervals
- Use closed captions or chat pacing tools to improve accessibility
Have a Contingency Plan
Live production means anything can go wrong. Prepare fallback options for the most common issues:
- Camera fails → switch to backup angle or show a still slide
- Audio drops → cut to a safe holding scene while resetting mics
- Encoder crashes → reload your saved profile and reconnect
- Internet drops → shift to your backup mobile hotspot
One person should be empowered to make quick decisions on the spot.
Example: NextUp Comedy
NextUp Comedy streams live stand-up shows that include sponsor shoutouts, live chat interaction, and smooth transitions between performers.


Their production crew likely uses OBS or StreamYard for scene switching and overlays – managing both viewer engagement and visual polish in real time.
Summary: Your To-Do List
- Start early: Arrive hours in advance, power on all gear, and double-check network stability
- Launch your platform early: Use a branded countdown or holding slide 15 – 30 minutes before go-live
- Follow a visual checklist: Confirm camera framing, mic levels, overlays, and stream key
- Assign live responsibilities: Switching, monitoring, chat, talent cues
- Engage the audience: Use polls, comments, and calls-to-action
- Stay alert for issues: Monitor encoder stats and have backup plans in place
- Record locally: Always capture a backup recording in case the platform archive fails
Bonus: Post-Event Optimization & Monetization
Just because your live stream is over doesn’t mean the value ends. What you do after your event – how you repurpose, promote, and monetize your content – can generate long-term returns, grow your audience, and improve your future streams. This phase turns a one-time event into an ongoing business asset.
Maximize Your Replay Value
Your full stream recording is a rich source of future content. Depending on your goals and event type, you can:
- Upload the unedited replay to a VOD library or gated page
- Sell it as a standalone on-demand product
- Break it into highlight clips for social media, email campaigns, or ads
- Extract audio-only versions for podcast listeners
Make the most of the time and resources you invested by getting this content in front of more people – on multiple platforms.
Monetize the Replay
There are several ways to earn revenue after the virtual event ends:
- Add the replay to a paid subscription catalog
- Offer it as a one-time VOD purchase
- Bundle it with exclusive extras – like behind-the-scenes footage or bonus downloads
- Gate it behind email registration to generate leads
Choose the model that fits your audience and aligns with your business strategy.
Review Performance and Engagement
Use platform analytics to understand how your live event performed:
- Viewership: Total views, peak concurrent viewers, average watch time
- Monetization: Revenue from PPV or subscriptions
- Engagement: Chat activity, poll participation, drop-off points
If your streaming platform’s analytics are limited, supplement with tools like Google Analytics, Hotjar, or Mixpanel.
Collect Feedback
Don’t assume – ask.
- Send a post-event survey to gather insights on stream quality, content value, and technical performance
- Debrief with your internal team: what went well, what didn’t, and what to do differently next time
- Use this feedback to refine your next live stream workflow
Promote the Replay
Don’t stop marketing just because the stream ended:
- Send follow-up emails linking to the replay or short recap clips
- Share top moments on your Facebook Page, Instagram, and TikTok with captions and CTAs
- Retarget registrants who didn’t attend with ads promoting the replay
- Use the event as a springboard to promote your next live event
Example: Means TV
Means TV is a worker-owned media cooperative known for streaming live events that align with its mission-driven content.
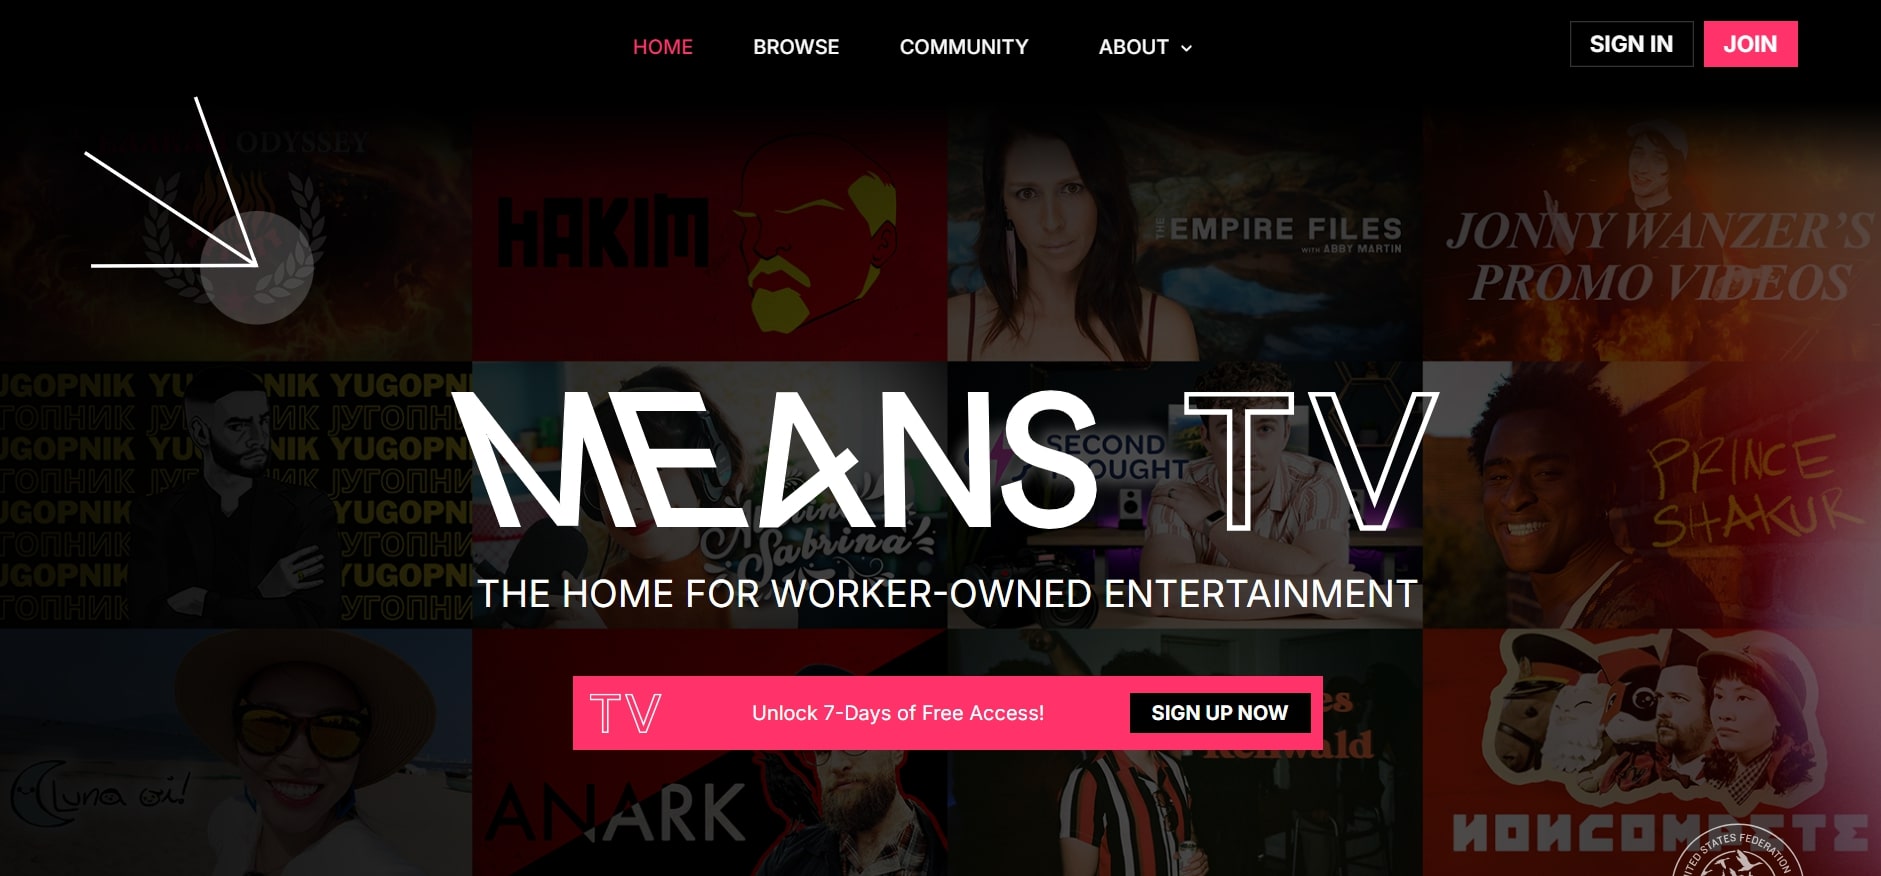
After each event, they often repurpose footage into short-form clips that keep their social channels active and drive new subscribers – extending the life of each live production.
Summary: Your To-Do List
- Download and back up the full recording and all visual assets
- Repurpose the stream into replay content, highlights, clips, or audio formats
- Monetize via subscriptions, VOD sales, gated access, or bundled offers
- Analyze performance using stream data and audience behavior insights
- Gather feedback through surveys and team debriefs
- Promote the replay across email, social, and your next event campaigns
Conclusion
Learning how to live stream an event can feel overwhelming at first – but with the right structure, it becomes repeatable, scalable, and surprisingly rewarding. Whether you’re launching a new virtual offering or evolving an in-person event into a digital experience, the key is to build a workflow that fits your goals and grows with your audience.
By following the steps in this guide, you now have a clear roadmap to:
- Define your event type and streaming goals
- Build a realistic production workflow
- Choose the right streaming platform for your needs
- Set up gear and streaming software with confidence
- Test thoroughly and prepare for live execution
- Engage your audience and manage production in real time
- Extend your impact through post-event monetization and repurposing
Every successful stream builds your momentum. Document your process, apply what you’ve learned, and keep iterating to deliver better live experiences each time.
Build, launch and manage your membership, all in one place.