Want to build your first OTT app and scale your video content business but not sure where to start?
Launching your own app is nowhere near as challenging as it was just 5 years ago. Stats show that the OTT industry is booming, and that’s a good thing for you. All of the growth we’re seeing means you no longer need a team of developers and it doesn’t have to cost thousands of dollars.
And maintenance? All taken care of. Today, OTT platform providers offer OTT app builders that streamline the entire process. No bugs to battle. No technical knowledge or coding skills or experience is required.
This guide has everything you’ll need to find the best OTT platform and app builder. It’s an in-depth review of six top platforms, down to real customer feedback and pricing.
Top OTT app builder solutions at a glance
| Platform | G2 rating | Best for | Basic plan pricing |
|---|---|---|---|
| Uscreen | 4.8 | Video creators building a community-powered membership to monetize their videos | Starting at $149/mo. |
| Muvi | 4.5 | Creators building video-on-demand brands with e-commerce capabilities. | Starting at $399/mo. |
| VPlayed | 4.8 | Medium-to-large brands scaling content and monetization. | Contact for pricing. |
| Vimeo | 4.3 | New creators who want to monetize content on a user-friendly, ad-free platform. | Starting at $1 per subscriber. |
| Dacast | 4.5 | Broadcasters and brands in need of comprehensive live streaming capabilities. | Starting at $39/mo. |
| Wowza | 4.4 | Professional broadcasters and institutions building customized streaming solutions. | Starting at $149/mo with Pay-as-you-go option. |
What is an OTT app builder?
An OTT app builder is a platform that allows users to create streaming applications without needing to write any code. Offering easy setup, they feature user-friendly interfaces with drag-and-drop functionality, pre-built app templates, and customizable components, making app development accessible to everyone.
For creators looking to develop an Over-The-Top (OTT) app, using a no-code builder provides a streamlined, cost-effective way to deliver content across multiple devices quickly. You can create various video streaming services tailored to different niches and audiences, enhancing user engagement and satisfaction. And once ready, you’ll be able to get your app into app distribution platforms, like Google Play Store and Apple’s App Store for downloads.
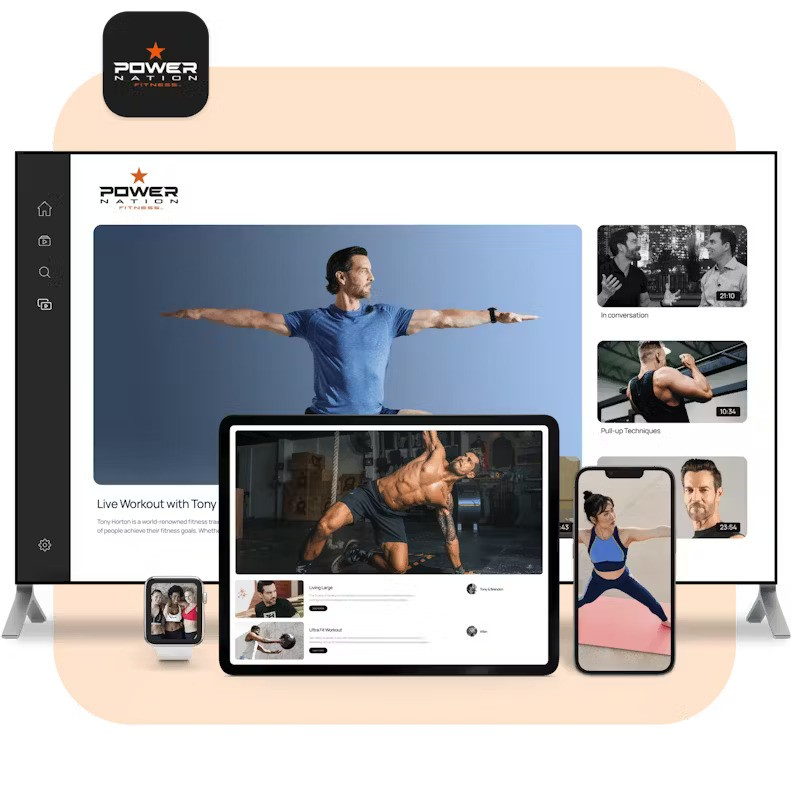
Like Tony Horton, founder of one of the world’s most popular fitness programs, P90X®️. He uses Uscreen OTT apps to reach his Power Nation Fitness audience with online fitness workouts on mobile phones, tablets, PCs and TVs, and he’s just one of many Uscreen customer examples.
OTT app builder features and benefits
OTT apps should be easy to own. As a creator, the last thing you want is to spend time troubleshooting technical errors or apologizing to your audience because your OTT app is offline.
This list of 8 features includes the most important elements your OTT app builder should offer so you can focus less on technical issues and more on creating high-quality content.
- Low/no maintenance: The best OTT app builders are well-developed, stable applications. They are maintained by a team of skilled and experienced developers who handle everything from building apps to feature updates and security enhancements to aesthetic tweaks to match your brand’s look and feel.
- Monetization and payments: OTT apps often come with several monetization features. Make sure yours supports the monetization model that you’ve selected for your business. If this includes monthly subscriptions, your OTT app builder should offer integrations with the most popular payment gateways so you can get paid.
- Customization and branding: Owning an app means making it look unique. OTT app builders use an app template for each platform, one that you can customize with your own branding. Opt for a builder that gives you the most flexibility possible.
- Push notifications: Creating content isn’t enough. You have to promote it for people to enjoy it. Push notifications are quintessential tools for promoting content and offers, and keeping your brand top-of-mind.
- Smooth UI and UX: Optimal user experiences with an intuitive UI are more than ‘nice to haves’. Users who experience friction when using your OTT app are less likely to continue to use it, whereas beautifully designed UI and UX experiences have been known to increase conversion by up to 200%.
- Curate playlists: Making content consumption easy for your viewers is a big deal. Today, it’s common for viewers to have access to a bouquet of content and not know what to watch. Curated playlists simplify the decision-making process and enhance user experience.
- Offline viewing: Greater audience reach is a major driver for creating an OTT app. You’re able to serve up your content to people no matter where they are. Giving your audience the option to download and view content offline is a smart choice, especially if you have an international audience where mobile data is not as affordable.
- Live streaming: Live events are a great way to connect with your audience. Your OTT app builder should offer live streaming capabilities, allowing you to reach viewers in real time, chat with them, and also charge for access to your event if you choose.
- Community and engagement: The smartest creators have built communities around their brands, creating rewarding experiences for their audiences. Like your favorite social media app, the option of reaching out to your audience shouldn’t have to involve leaving your OTT app to connect on another platform. Built-in community features make engagement easier for all.
With a clearer picture of what your OTT app builder should offer, let’s take a look at some of the best solutions available today.
A review of 6 top OTT app builders
This list of six of the top OTT app builders includes leading OTT platform providers available on the market. Think of this as your personal cheat code and time-saver. This is a deep dive into features and benefits, pros and cons, what customers think about each OTT platform, and pricing plans.
Uscreen
Best for: Video creators building a community-powered membership to monetize their videos.
G2 rating ⭐: 4.8 out of 5
Why choose Uscreen?
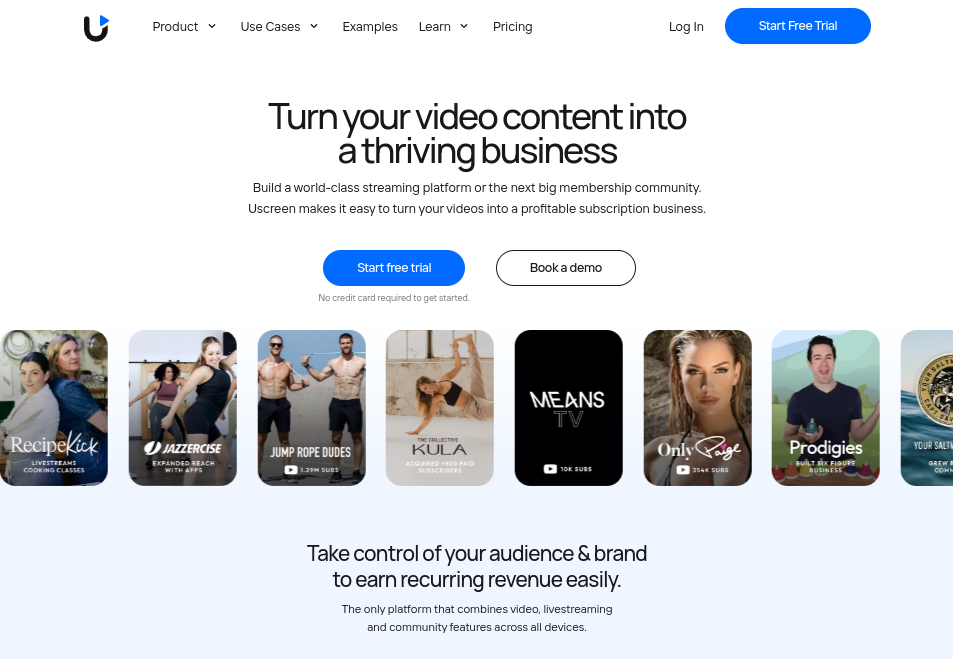
Uscreen is a comprehensive video monetization platform that gives you full control over your branding, audience, and revenue. Ideal for building a premium video membership site with no-code OTT apps for phones and TVs, it offers a Netflix-style catalog with easy navigation that enhances user experience.
Beyond video hosting, Uscreen provides flexible monetization options, including paid memberships, pay-per-view, and one-time purchases. With subscriptions, you can create recurring income, while automated marketing tools help scale your business and boost revenue.
All video content is downloadable for viewing offline, giving your viewers more control over how and where they enjoy your content. Community features, like real-time chat during live events, interactive calendars, polls, and pre-registration tools help engage your audience for the best possible membership experience.
What customers say
Uscreen gave me the ability to teach students around the world easily with a well-organized and powerful platform. I love the way Uscreen combines self-paced / tutorials with the ability to do live streams and create a community all in one place. Whenever I have had an issue, support has been prompt to help me.
G2 review
Uscreen’s key features & benefits
- Launch white-labeled apps: Get complete and branded OTT apps for iOS, Android, Roku, AppleTV, Android TV, FireTV, and Samsung TV, without programming knowledge or experience.
- Apple Watch app: Give users playback control to interact with your content directly from their Apple Watch. Fitness and wellness users can sync their health app with the Apple Watch app to track workout metrics.
- Multiple ways to monetize content: Create subscriptions, charge with one-time payments, or both, offering your audience more than one way to access your content.
- Beautiful UI and UX: Launch professionally designed apps built using UX and UI best practices and a Netflix-style interface.
- Optimized video streaming: Deliver the best viewing experience across all devices, from smartphones to TVs.
- Live streaming with a twist: Create live streams with real-time chats, interactive calendars, and pre-registration tools, for more rewarding viewer experiences.
- Curated playlists: Build content playlists, sharing episodic content for enriched viewer experiences.
- Build an empowered community: Foster loyalty by creating a dedicated space for members to connect with you, your content, and each other.
- Analytics and marketing: Access detailed analytics, reporting on business performance, and built-in marketing tools, like email marketing, for better decision making.
- Offline content viewing: Members can download your video and view it later, offering easier content accessibility to your community.
- Push notifications: Share updates, content, and more with OTT app users.
- No maintenance required: All development and OTT app maintenance is handled by Uscreen’s expert developer team.
Uscreen pros
- ✅ A comprehensive feature set with all you need to launch an OTT app and monetize your content.
- ✅ Support is available and maintenance included, relieving the worry of handling technical issues.
- ✅ Reach users on phones and TVs.
Uscreen cons
- ❌ Smaller creators or businesses on tight budgets may find pricing structures slightly out of reach.
- ❌ Uscreen is not built for discovery, so you must attract or direct an audience to your content.
Is Uscreen right for you?
Uscreen is an excellent choice if you’re focused on building a scalable and profitable membership site centered around video content and community engagement. It’s ideal for creators who want to use their videos to foster an active community and generate recurring revenue through subscriptions.
Uscreen may not be the best option if you need extensive website customization and the ability to embed video into other applications. Creators starting out and on a budget may find Uscreen’s pricing a little out of reach. It’s more aligned with established creators already generating an income from their content.
Uscreen pricing
- Growth: $149/month + $1.99 per paid member, per month. Best suited to creators launching a website, hosting videos and offering tiered pricing.
- Pro: $499/month + $0.99 per paid member, per month. Used by serious creators who want an OTT mobile app, the option to integrate with other apps, include e-commerce elements, and run an affiliate program.
- Plus: Custom pricing for established creators who need full brand control across all platforms, including live streaming and live chat, and OTT apps for TVs and mobile devices.
Muvi
Best for: Enterprises building video-on-demand brands with e-commerce capabilities.
G2 rating ⭐: 4.5 out of 5
Why choose Muvi?
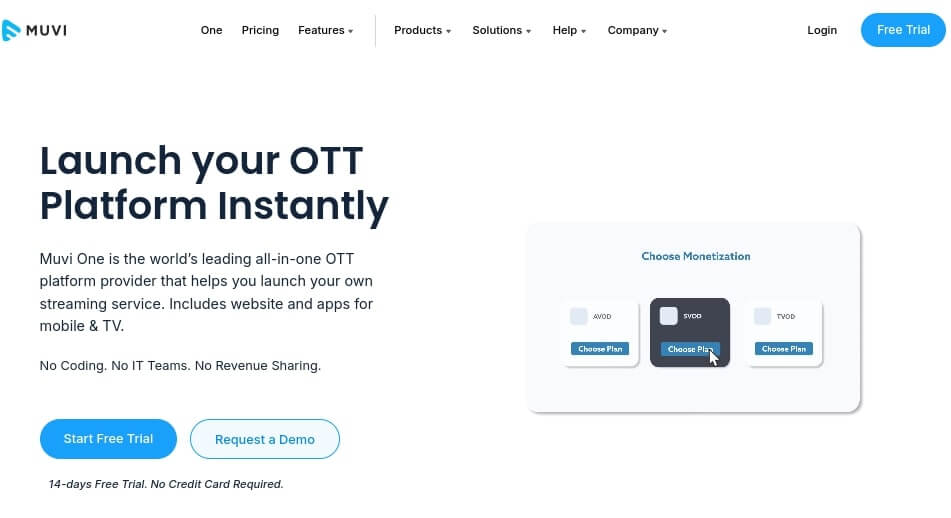
Muvi is an all-in-one platform for enterprises looking to build custom video-on-demand channels with e-commerce features that can be enjoyed on mobile and TV OTT apps. It offers multiple monetization options, including SVOD, PPV, and AVOD, and even enables physical product sales through Muvi Kart.
Muvi also supports content sharing and monetization on platforms like Facebook and Instagram, with features like real-time viewer interactions, live broadcasts, and advertising retargeting. Muvi’s other notable features available include watch parties, community chat, live streaming, and the option to download and enjoy content offline.
What customers say
Muvi has been very useful for our video management needs. It is feature-rich and at the same time, very much user friendly. Our team is comfortable using it and Muvi provides good support whenever we need it.
G2 review
Muvi’s key features & benefits
- Create white-labeled apps: Launch complete and branded OTT apps for iOS, Android, Windows desktop, Roku, AppleTV, Android TV, FireTV, Vewd, Tizen, PlayStation, Xbox, Chromecast, and Apple Vision Pro.
- On-demand and live streaming: Deliver video to all devices on demand or during live events.
- Audio streaming: Offer live and on-demand audio content.
- AI content recommendations: Users receive content recommendations based on their behavior.
- Monetization: Generate revenue with subscriptions, advertising, and pay-per-view.
- Marketing integrations: Connect behavioral analytics tools for user insights.
- Analytics and reporting: Track business performance with minute-to-minute analytics.
- Community features: Host watch parties, offer chat during live streams, collect user reviews and ratings, and let viewers share user-generated content.
- Enjoy content offline: Users can download and consume content offline.
- Push notifications: Share platform updates, content, and more with Android and iOS mobile users.
- No maintenance required: All development and OTT app maintenance is handled by Muvi.
Muvi pros
- ✅ Supports several OTT apps.
- ✅ No coding experience required.
- ✅ Feature-rich solution.
Muvi cons
- ❌ Potentially expensive, including platform fee from $399/mo with an additional fee per app starting at $299/mo.
- ❌ No content discovery requiring creators to attract or direct an audience to their content.
- ❌ App integrations require developer skills.
- ❌ Limited marketing tech stack.
Is Muvi right for you?
Muvi is ideal for enterprises aiming to build a scalable, white-labeled streaming service. It comes with tools for content management, live streaming, and multi-platform support, offering all you need to create customized video streaming experiences.
It may be harder to work with if you’re after something easy to use. A limited marketing tech stack could prove challenging unless you have access to developers who can create API connections.
Muvi pricing
- Standard: $399/month + $299 per mobile OTT app. Includes 2,000 concurrent users limit, 100GB storage and bandwidth per month, and a fully featured white-labeled app builder.
- Professional: $1,499/month + $499 per OTT app. Includes everything in the Standard plan, plus a 10,000 concurrent users limit, and 500 GB storage and bandwidth per month.
- Enterprise: $3,999/month + $499 per OTT app. Includes everything in the Professional plan, plus a 50,000 concurrent users limit, and 1 TB storage and bandwidth per month.
- Ultimate: Custom pricing. Includes everything in the Enterprise plan, plus unlimited concurrent users and 10 TB storage and bandwidth per month.
VPlayed
Best for: Medium-to-large brands scaling content and monetization.
G2 rating ⭐: 4.8 out of 5
Why choose VPlayed?
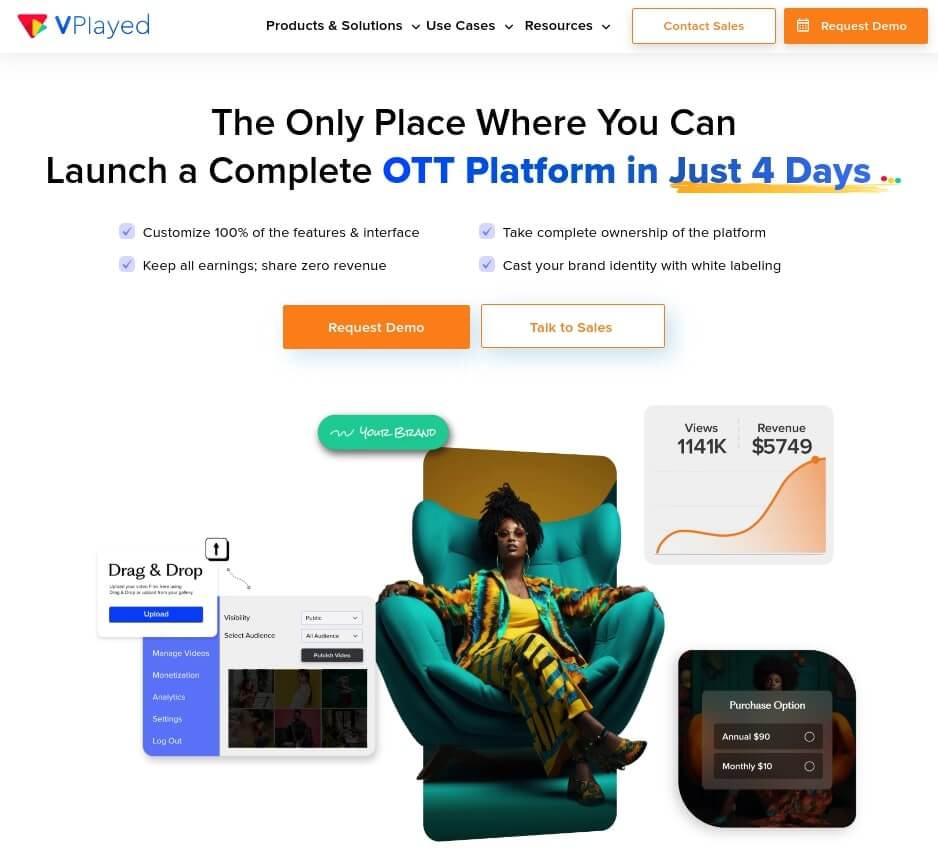
VPlayed is a fully customizable video monetization platform. It offers source code access, allowing you to personalize everything—from the video player, dashboard, and themes to the CMS itself. As a white-label solution, you can brand it with your logo and tailor your site and OTT apps to match your brand’s visual identity.
It’s also packed with a collection of powerful features, including AI content recommendations, community features, and partner content collaboration capability that lets you share content from other creators, all of which can be managed by your partner in a separate account.
What customers say
Vplayed helps by providing great streaming and has top-notch features that help the business to get paid well by delivering and monetizing content to their audience.
G2 review
VPlayed’s key features & benefits
- Create white-label apps: Launch complete and branded OTT apps for iOS, Android, Apple TV, Android TV, Roku, Amazon Fire TV, Samsung Smart TV, LG Smart TV, Chromecast, PlayStation, Xbox, Windows, MacOS.
- On-demand and live streaming: Deliver video to all devices on demand or during live events.
- AI recommendations, content filters, and playlists: Give users filters, playlists, and personalized AI recommendations.
- Monetization: Earn with subscriptions, advertising, and pay-per-view.
- App integrations: Connect behavioral analytics tools for deeper user insights.
- Community features: Host real-time chats during live streams.
- Downloadable content: Users can download and watch content offline.
- Push notifications: Share platform updates, content, and more with Android and iOS mobile users.
- Partner content collaboration: Create a dedicated portal where partners can share their content for consumption and manage it.
- No maintenance required: All development and OTT app maintenance is handled by VPlayed.
VPlayed pros
- ✅ A variety of OTT platforms supported.
- ✅ Comprehensive features.
- ✅ Partner content collaboration to offer your viewers variety.
VPlayed cons
- ❌ Pricing not published making this a potentially expensive OTT solution.
- ❌ Limited community features.
- ❌ Many features could present a steep learning curve for new or non-technical creators.
Is VPlayed right for you?
If you’re in the market for an OTT platform that’s highly-customizable, VPlayed has all you’ll need to build your OTT service. Source code access allows for advanced features to be developed, and all you’ll need are the skills to make your vision come to life.
Given VPlayed’s advanced customization capabilities, you’ll need access to experienced developers. The more customization you do, the more unique and complex your OTT service will be. VPlayed’s lack of public pricing is also a signal to creators with small communities that this is potentially a service that will require large investment.
VPlayed pricing
Contact sales for pricing.
Vimeo
Best for: New creators who want to monetize content on a user-friendly, ad-free platform.
G2 rating ⭐: 4.3 out of 5
Why choose Vimeo?
Vimeo is well-known as a video player and on-demand video platform and more recently an OTT platform provider. It offers VOD, OTT, and live streaming features and is relatively easy to use, making it ideal for beginner creators. It’s just as accessible for professionals and businesses after an ad-free, customizable solution that they can make their own.
Vimeo’s monetization options include TVOD, SVOD, and rentals, and you can stream content to OTT apps in full HD or embed the Vimeo player on your website.
What customers say
The platform offers a range of tools, including advanced privacy settings, video analytics, and customizable thumbnails. These features are particularly beneficial for businesses and educators who need to track engagement and present content in a polished manner. Additionally, Vimeo’s integration with various platforms enhances its usability, making it easier to share content across different channels.
G2 review
Vimeo’s key features & benefits
- White-labeled apps: Create apps for iOS, Android, Roku, AppleTV, Android TV, FireTV, Xbox, and Samsung Tizen without programming knowledge or experience.
- Multiple monetize options: Offer subscriptions, pay-per-view, advertisement-based, or free content.
- On-demand and live streaming: Stream on-demand content and live events on a linear channel and cater to different audiences.
- App integrations: Connect behavioral analytics tools for deeper user insights.
- Offline content viewing: Users can download and view content later without an internet connection, offering greater content accessibility to your community.
- No maintenance required: All development and OTT app maintenance is handled by Vimeo.
Vimeo pros
- ✅ User-friendly and ideal for new creators.
- ✅ Enough features to run your OTT service successfully.
Vimeo cons
- ❌ No community features.
- ❌ Limited app integrations, more require API integration and developer assistance.
- ❌ OTT apps are only available on the Enterprise plan.
- ❌ Pricing for the Enterprise plan is not publicly available and could be expensive for creators with small and medium communities.
Is Vimeo right for you?
Vimeo is the perfect tool for new creators and anyone who wants an easy-to-use OTT platform that can monetize content. Its $1 per subscriber fee is affordable, and access to OTT apps helps you reach a broader audience on phones and TVs.
But it may not be a good fit if you need more flexibility and customization. While you have API access, using it will require coding knowledge or developer skills. Vimeo also lacks community features, a shortfall that may hurt creators who want to build community-driven brands.
Vimeo pricing
Vimeo charges $1 per subscriber on its Starter plan. Pricing for the Enterprise plan is not published but is billed monthly and annually.
Dacast
Best for: Broadcasters, media services, and brands in need of comprehensive live video streaming capabilities.
G2 rating ⭐: 4.5 out of 5
Why choose Dacast?
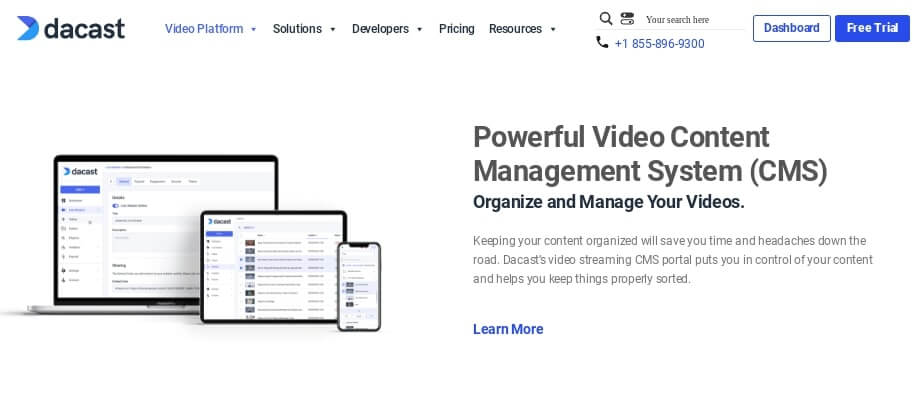
Dacast is a versatile OTT platform with strong live-streaming capabilities. It offers RTMP streaming and also on-demand video content, making it a smart choice for broadcasters of all levels. You get complete control over branding and flexible monetization options, including SVOD, TVOD, and AVOD.
Unlike other OTT platforms, Dacast supports Android, iOS, and Larix apps. It also prioritizes a strong desktop viewing experience.
Because it’s designed with broadcasters in mind, Dacast comes with advanced analytics, giving you detailed insights on video content. It also integrates with CRMs and marketing tools for efficient workflows.
What customers say
We have been using this service for several years now for the large Outdoor Shake table, and we have no problem with steaming. And when we needed help, the customer service was like the best. Also was able to try this into one steaming service to other social media sites. We were able to input the streams into our website and also stream them to all the mobile devices that were watching the link that we sent out for the live stream.
G2 review
Dacast’s key features & benefits
- Launch white-labeled apps: Create complete and branded OTT apps for iOS, Android, and Larix Broadcaster Live Streaming app, without the requirement for programming knowledge or experience.
- Monetize content in various ways: Create subscriptions, offer ad-based content, or use pay-per-view to earn from your content.
- Live streaming with RTMP: Host live streams with low latency for smooth viewer experiences.
- Create curated playlists: Build content playlists for enriched viewing experiences.
- Analytics and marketing: Access detailed analytics, reporting on content performance, and built-in marketing tools like email capture to grow your audience.
- App integrations: Connect marketing and analytics apps to manage communications and understand user behavior.
- Push notifications: Share updates, content, and more with OTT app users.
- No maintenance required: All development and OTT app maintenance is handled by Uscreen’s expert developer team.
Dacast pros
- ✅ Advance analytics and reporting capabilities.
- ✅ Strong live streaming feature set.
Dacast cons
- ❌ No offline content viewing or content download capabilities.
- ❌ No community features.
- ❌ Limited OTT app platform support (only iOS, Android, and Larix supported).
Is Dacast right for you?
Dacast is a powerful live-streaming tool. Its RTMP streaming capabilities let you stream across multiple platforms, including social media sites. Advanced analytics and reports on video content make it attractive for broadcasters who need insights into content performance.
While feature-rich, Dacast supports less than a handful of OTT platforms, in favor of desktop user access. If you’re planning on reaching as wide an audience as possible, missing out on a fraction of Amazon Fire TV’s 50 million monthly active users, or the chance to broadcast to Android TV and Apple TV users, will feel like a loss.
Dacast doesn’t come with community features either, making it less likely to secure a spot on the shortlist of creators building communities to monetize their video content.
Dacast pricing
- 30-day free trial: Includes 2GB of storage, 10GB of data, and comes with ads.
- Starter Plan: $39/mo – Includes 500 GB of video storage, 2.4 TB of data per year, live streaming and ad-free streaming, and advanced analytics.
- Event: $63/mo – Everything on the starter plan with 250 GB of storage and 6 TB of data, multi-CDN functionality, content paywall, pre, mid and post roll advertising.
- Scale: $165/mo – Everything on the event plan with unlimited channels, VOD chapter markers, digital rights management, advanced encryption and content library management, and accounts for up to 3 team members.
- Custom: Contact for pricing – includes scaling capabilities for larger events, additional supports, custom SLA, and accounts for up to 5 team members.
Note: Dacast pricing is billed annually.
Wowza
Best for: Professional broadcasters and institutions building customized streaming solutions.
G2 rating ⭐: 4.4 out of 5
Why choose Wowza?
Wowza is designed for large organizations, universities, and media houses that need scalable, flexible streaming setups that can push content to OTT apps for phones and TV. While it’s not ideal for direct video monetization, it’s a powerful platform for driving marketing through live events.
As a live streaming solution, Wowza’s Streaming Engine and Cloud products offer customizable, low-latency streaming with extensive API and SDK support. As you may have gathered, this is a tool for advanced users or, at least, organizations with access to app developers.
What customers say
Wowza Streaming Engine is a versatile and robust media server that supports a wide range of streaming protocols and formats, which is one of the features I appreciate most. Its flexibility in handling both live and on-demand streaming makes it suitable for various use cases, from enterprise-level deployments to smaller, custom streaming solutions. Additionally, Wowza’s support for adaptive bitrate streaming ensures a smooth experience for viewers across different devices and network conditions.
G2 review
Wowza’s key features & benefits
- Launch white-labeled apps: Build OTT apps that run on iOS, Android, Apple TV, Roku, Android TV, Samsung Smart TV, LG Smart TV, Chromecast, Amazon Fire TV, PlayStation, Xbox, IPTV, and other OTT devices.
- Several monetization options: Earn from subscriptions, pay-per-view, ad-based content, hybrid models, in-app purchases, sponsorships, and live event ticketing.
- Advanced integrations: Embed video into any application.
- Live streaming: Host large and scalable live stream events.
- Analytics and marketing: Access live and historic analytics and reporting on content performance, and built-in marketing tools for better decision making.
Wowza pros
- ✅ Highly-customizable.
- ✅ Several monetization options.
Wowza cons
- ❌ Advanced capabilities require advanced skills for implementation.
- ❌ No offline content viewing capabilities.
- ❌ No playlist of content recommendation features.
- ❌ Push notifications are not standard and must be coded into OTT apps.
- ❌ Community features are not included.
Is Wowza right for you?
Wowza is designed to cater to large institutions and professional broadcasters. It’s able to support advanced customization, like embedding video into any application, large-scale live-streaming events, and on-demand content requirements, which is why it’s used by brands like Facebook, Sony, and Fox Sports.
If you’re looking for something a little less robust and far less complex, Wowza will be overwhelming. It comes with a list of features best put to work with large crowds and supported by skilled developers.
Wowza pricing
- 30-day free trial: API access with the option to test live and on-demand video capabilities.
- One month of streaming: $149 – best for a single live event. Includes 15 hours of streaming, 500 viewing hours, pay for storage as needed, CMS, CDN, player, and analytics.
- Pay-as-you-go: No upfront costs only $2.50 per hour streaming fee, a $0.10 per viewer hour fee, and $0.20 per GB monthly storage fee. Ideal for ongoing streaming needs. Includes all features on the one month plan.
- Enterprise: Custom pricing with annual plans available. Best for large audiences or high-volume video.
Build your app
Launching your very own OTT app is exciting. It’s a doorway to enhanced experiences for your audience and community, and the chance to grow your video content business in leaps and bounds.
At Uscreen, we’ve seen creators build phenomenal businesses on the back of OTT apps and powerful communities, video monetization, high-quality video streaming features, and more.
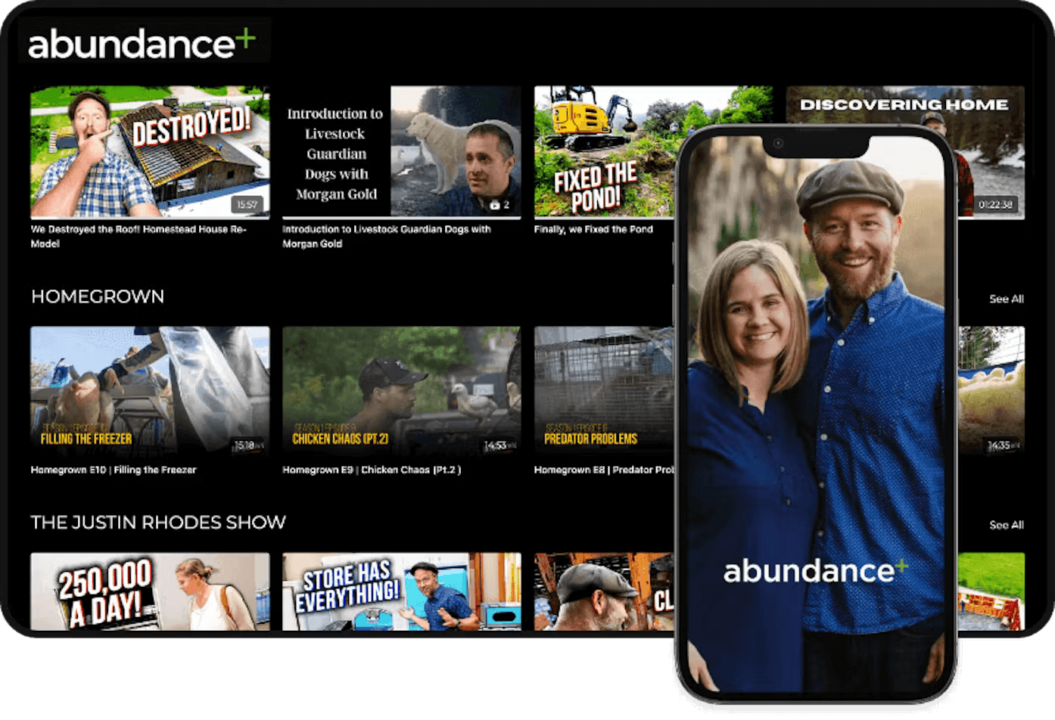
Like Justin Rhodes from Abundance Plus who grew his business to $100k in monthly revenue just by introducing apps.
Brooke Cates scaled her business to $1m in annual revenue too, making it easier for her community to engage with her via mobile apps.
If you’re ready to scale your business with OTT apps, get started with Uscreen today.
Build, launch and manage your membership, all in one place.


