If you’ve just starting your streaming journey, chances are you’ve given some serious thought to your kit and setup.
But there’s one question still on your mind:
Are you going to need to spend $1,000’s on live streaming equipment that you might not even use, or can you make it work with your current content creation setup?
Well, I’ve got answers for you.
In this article, I’m going to show you a budget-friendly live streaming setup, that can work for creators at all levels!
Let’s go…
Ready to explore how Uscreen’s reliable, scalable solution is helping customers monetize live events through pay-per-view, on-demand content, and memberships?
Your New Basic Streaming Setup
You don’t need to invest in robust live streaming equipment to get started. In fact, live streaming can thrive on that raw, ready, and accessible feel when you’re first getting started.
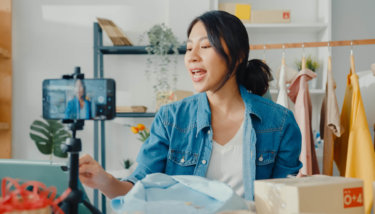
If you’re already creating video content – say, for a YouTube channel – you have more than enough to start a high quality stream. But, you could also use the same live streaming equipment that work for a Zoom or Teams call.
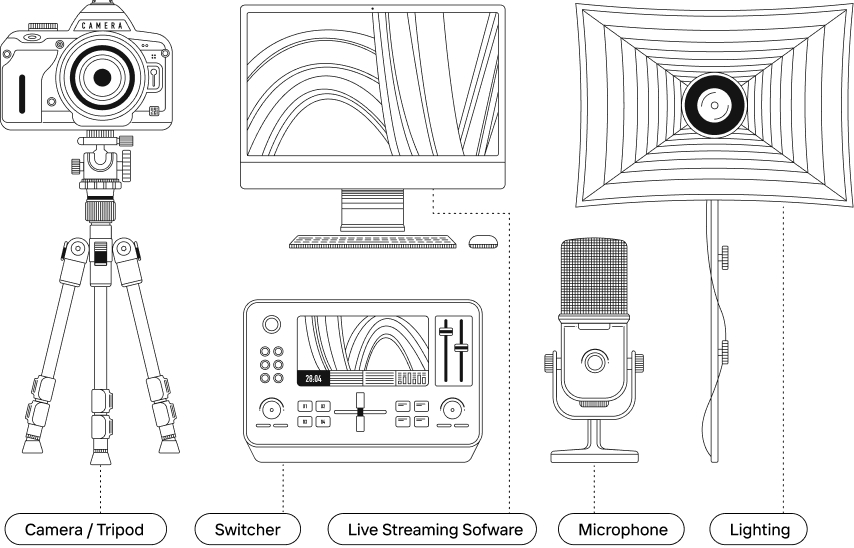
That’s because live streaming is built on the same 4 pillars as any other type of video content:
- Audio quality: a location and microphone that let your voice shine.
- Video quality: a camera that lets people see you clearly.
- Solid software: the right live streaming platform to connect your audience to your video.
- Internet connection: a steady speed that will keep you connected.
In the rest of this article, I’m going to go through each of these in-depth to help you find the streaming setups that work for you.
You’ll either come away with an inventory of all the live streaming equipment you already have available or a shopping list of new items to buy.
High Quality Audio: The Key Component Of All Live Streams
Clear audio is at the core of all video content.
Your audience can (and will) endure lower-quality live video and lighting setups. But, they won’t grin and bear bad audio. The better your audio quality, the better the chances of retention.
There are 2 things that will impact this:
- Your microphone
- Your location
Let’s take a look at each of them.
Your Microphone
If you make one high-quality investment from this list, make it a microphone.
This will have the biggest impact on the quality of your stream versus anything else.
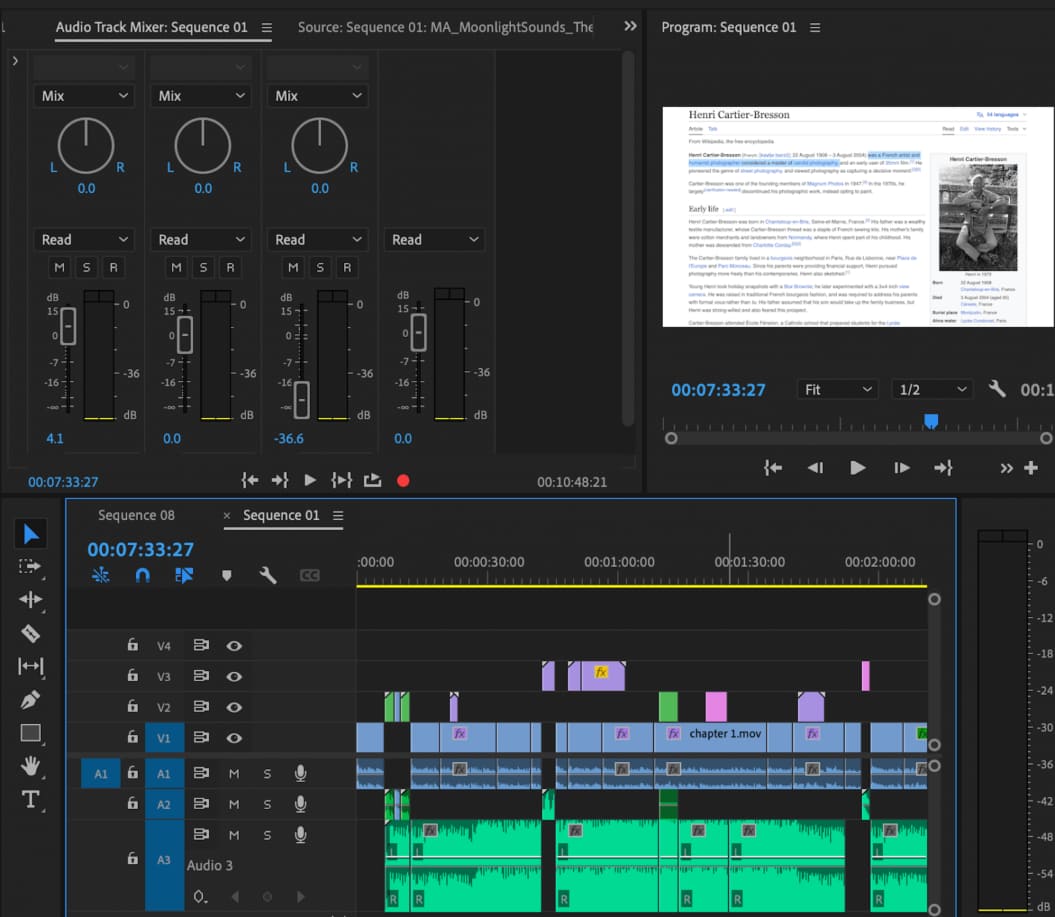
When you pre-record a YouTube video or a course module, you can use an editing tool like Premiere Pro to fix any issues with your sound quality. This can (at least a little) make up for bad audio, especially some of the built-in microphones around!
But when you’re live streaming, you need your audio to be clear and crisp from the minute you go live to your audience. There’s no such thing as “we’ll fix it in post!”
The good news is, you can get a solid microphone for under $100.
For example, the Blue Yeti Nano is a great all-around microphone for $99.99. It offers good sound quality and is easy to use.
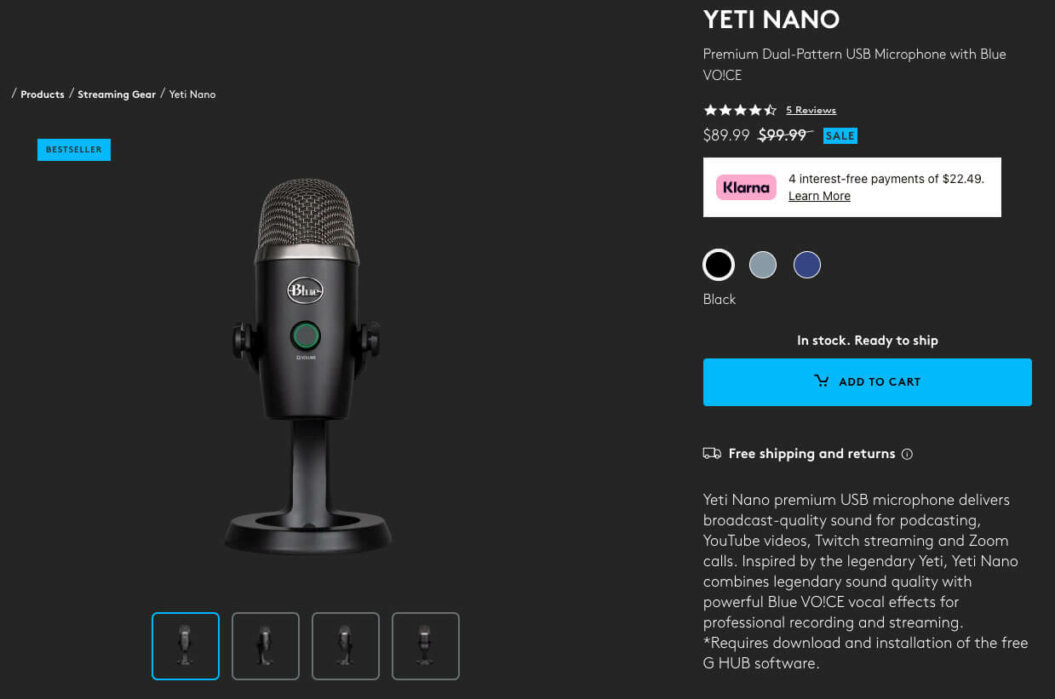
It has a cardioid polar pattern, which means it picks up sound from directly in front of the microphone and reduces noise from the sides and back.
If you want maximum versatility though, the DJI Mic 2 has become the go-to for lots of streamers.
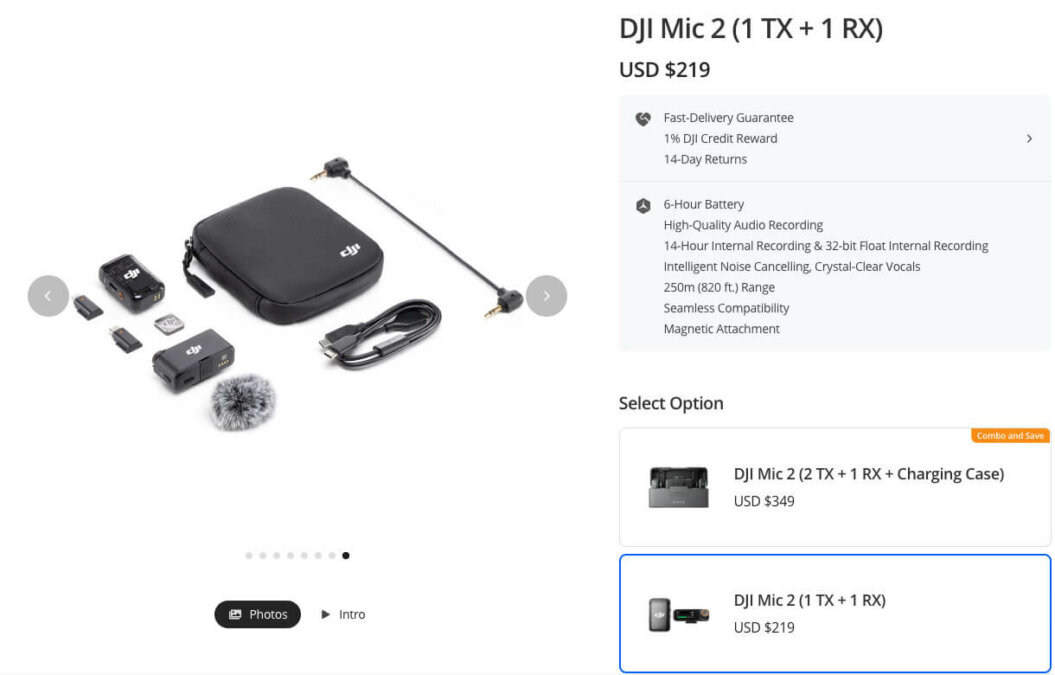
It’s a lapel mic with incredible audio quality, that can give you more flexibility in choosing your location.
A nice little aside is that microphones have kind of become a status symbol in the streamer community as well. Having a mic arm and a chunky microphone is pretty much everywhere:
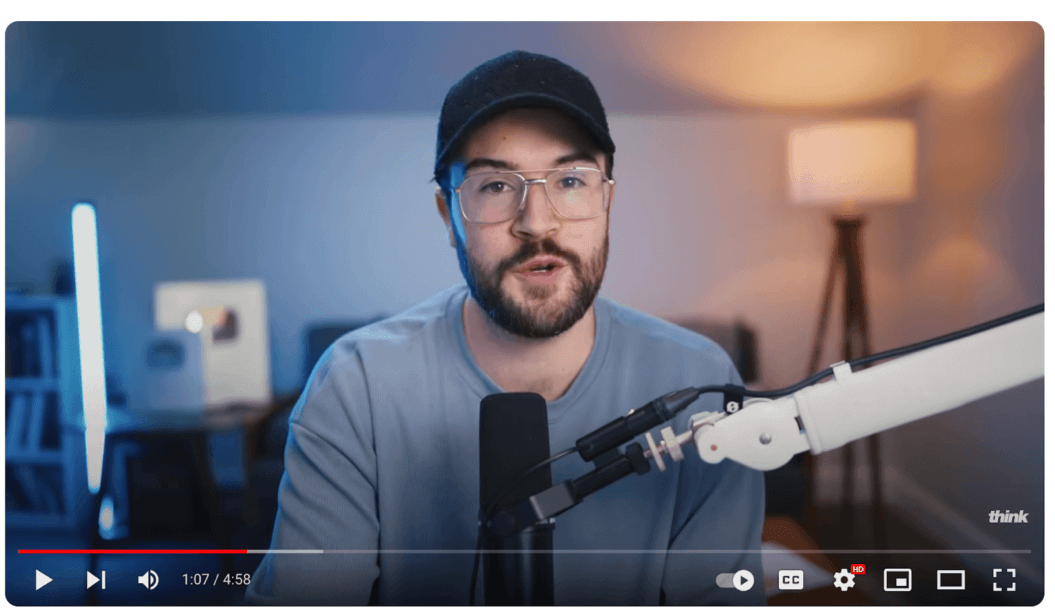
So if you want to add a little extra spice to your streaming setup, having your microphone in-shot can be a great way to display a little extra authority.
Your Streaming Location
The next major component in audio quality is your streaming location. Where you choose to record is often an overlooked part of getting your sound quality just right.
Just watch how Photography YouTuber, Mark Denney, lays down rugs and towels in his studio to prevent echo from his hardwood floors:
The key to this is surrounding yourself with softer, textile-like surfaces that absorb soundwaves rather than allowing them to bounce off.
If you picture a room with poor sound quality as completely bare, with hardwood floors and bare walls; a room with good sound quality is well insulated with soft furnishings.
Don’t worry if that doesn’t sound like your current live streaming setup right now, though. There are lots of great guides on how to improve sound quality for little to no investment, like this guide here:
🔑Key Takeaways
Audio quality is the most important pillar of your live streaming setup. Invest in a good microphone (if you don’t already have one), and make sure the room you’re recording in is well padded with soft-furnishing and textiles.
High Quality Video: Get A Clear Message Across
This might come as a surprise but video quality works on a sliding scale for live streaming.
At the start of your journey, audiences are more forgiving of lower-quality video that feels raw and accessible, as long as the sound quality is good and the background isn’t distracting.
That means if your setup is a little more budget-friendly — like what you’d use for a video call — you can get started quite quickly. It can even add to the charm of your early videos!
However…
As your audience grows, so too do their expectations. You’ll need to make tweaks and adjustments to improve the video quality of your stream over time.
You’ve got a lot of content to create before you get to that stage though, and maybe even generate some revenue to help you pay for that extra live streaming equipment.
Speaking of which, let’s take a look at what you’ll need…
A 1080p (or Better) Video Camera
I could write an entire 10,000 word article on all the different types of camera you could use. (I’m a photography YouTuber, what can I say?)
But the honest answer is:
You should choose either the best video camera currently available to you for free, or that you have the budget to invest in. As long as it allows for 1080p (or better) resolution.
Let’s split those into 3 different categories to make it easier.
Smartphone Cameras
The majority of smartphones nowadays have a good video camera you can start streaming with. If I was a betting man, I’d wager you have an iPhone 12 or better mobile device in your pocket right now.
You can pair this with a cheap tripod (more on those in a second) or even just a phone stand to make sure that the video is stable. I wouldn’t recommend doing handheld if you can avoid it!
External Webcams
External webcams plug into your computer through a USB cable and typically clip onto the top of your monitor.
These types of video camera are small and affordable — retailing between $45 and $100 — and pack a pretty powerful punch for live streaming.
I also like them because they only take up a small amount of space, and you can leave them permanently set up for your stream. After all, a consistent setup is the best setup!
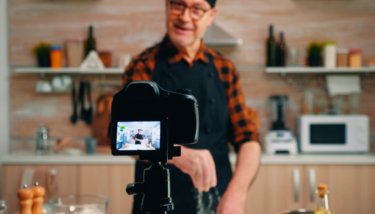
Mirrorless & DSLR Cameras
If you have a “proper” DSLR or Mirrorless or mirrorless camera that you use to record other types of content, you can easily convert this into your live streaming camera.
You’ll just need:
- A HDMI connector cable that fits your camera
- A “link” like the Elgato Camlink
Once these are connected to your camera and computer, you can stream directly from them using the right software encoder. A really simple way to create a high-quality video stream!
A Tripod
If you use a mobile device or a DSLR/Mirrorless camera, having a tripod that will keep your camera steady can be really useful.
I like tripods because they allow you to create a repeatable live streaming setup. Especially if you’re streaming from a small space.
For example:
I work out of a small bedroom office as my studio.
So, I made a black mark in Sharpie on my skirting board so I know where to align my tripod’s back leg. This means I always get the same shot when I move the tripod into place.
The actual brand of tripod you choose doesn’t matter too much. Rather, make sure you’re looking into details like:
- Is your tripod compatible with your camera? (especially important for phone sizes!)
- Can you adjust the position of the camera?
- What height does it extend to?
- Can you easily transport it?
Simple Lighting
If you’ve been creating video content for a while (or done a lot of research into it) you’ve probably heard of 3-point lighting.
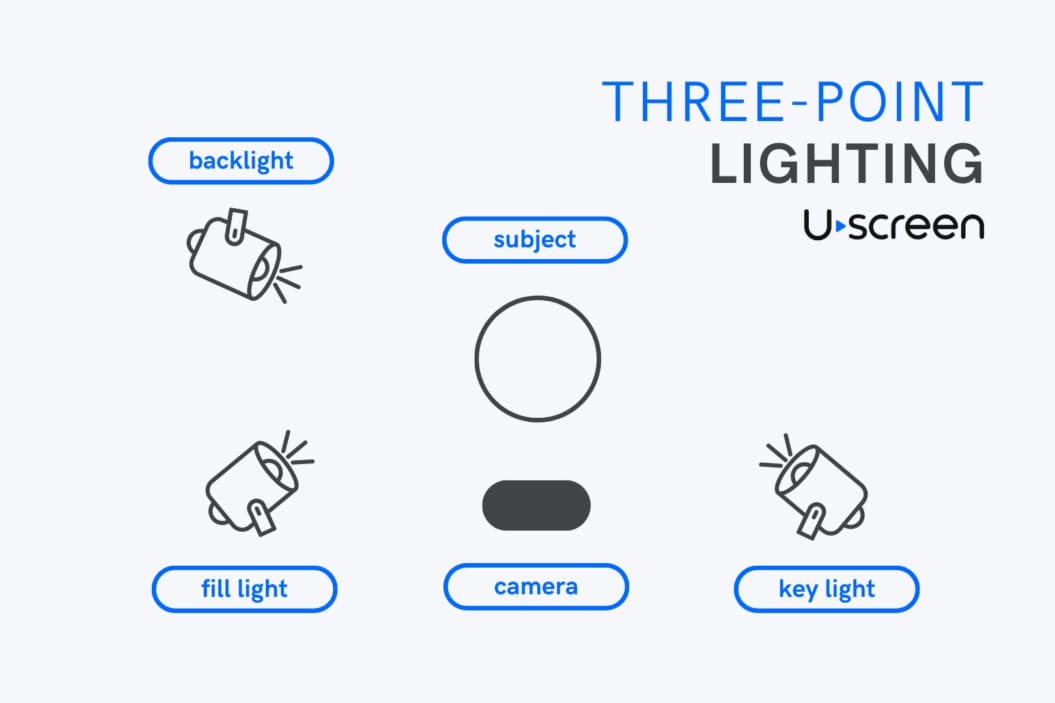
Although this is the ideal setup for content creation and streaming, it’s not a must-have for your first few live streams. However, I do recommend you set up 2 light sources:
- One in front of you: this could be as simple as a window, or you could use a softbox if you already have one
- One behind you: a simple lamp that creates depth by adding ‘backlight’ to your shot
This will allow for a few things to happen.
Firstly, it’ll reduce the ‘grain’ on your image created by the camera’s sensor in low-light conditions. Secondly, it will add depth to the room and create focus on you.
In this video here, for example, I’m only using 2 light sources: my office window, and the blue LED lamp behind. This creates enough depth for a professional looking stream!
I’m able to use this as a reliable light source through most of the year, even though I live in Manchester, England, where it rains and is dull over 220 days a year!
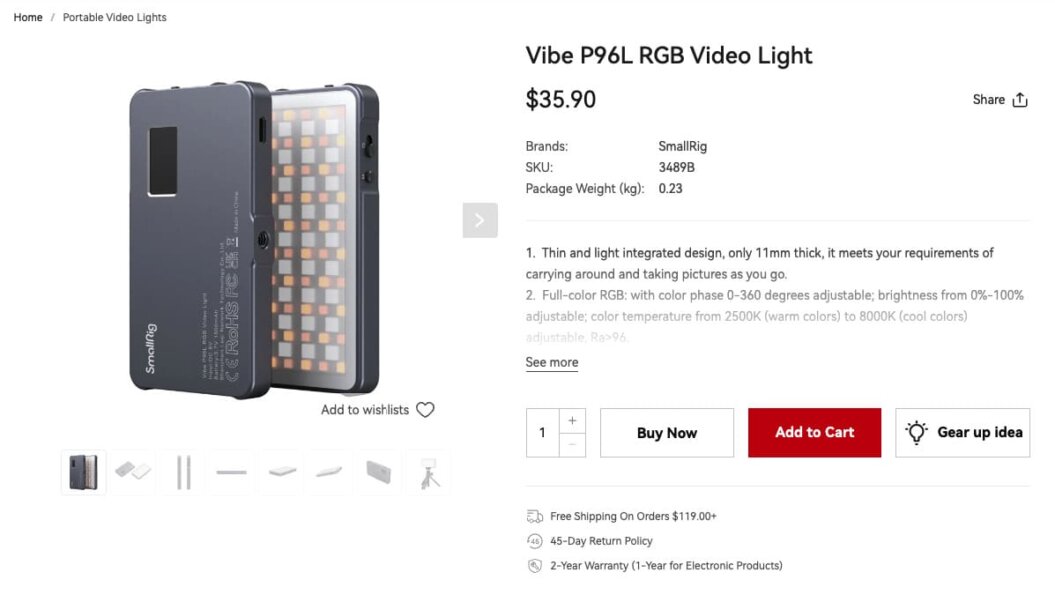
If you’d prefer external lights, you can pick up a USB ring light (the influencer light) or an LED fill light for around $30 on Amazon.
For the backlight, I’d recommend a lamp or something that looks natural to have behind you in your shot. No need to spend money here if you don’t have to!
🔑Key Takeaways
Video quality works on a sliding scale for live streaming. You can start low-budget, and improve your setup as you grow. You’ll need 3 key things:
- Camera: use the best camera available to you — whether that’s for free, or if you have a budget to spend.
- Tripod: if you’re using a smartphone or DSLR camera, an external tripod to steady your shot can be really useful.
- Lighting: use a main light source in front of you to make sure your stream is clear, add a lamp behind you to create depth.
Internet Connection: Keep The Live Stream Alive
The next piece of your live streaming setup is your internet connection.
Because you’re online, reading this blog post, tells me you have a connection of some kind. But, having an adequate internet speed that can sustain a live stream of 45-60 minutes in length is key.
In fact, research shows that buffering and low-quality video created by poor internet speeds can reduce audience retention and cause people to leave.
Now:
You could be reading this from anywhere in the world, with any number of internet providers, so I’m not going to get into what companies provide a good internet connection for you to use.
Instead, let’s look at the minimum criteria you need to meet to make different qualities of stream work. You can then look at your internet provider and see what they offer!
| Video Quality | Internet Speed |
| Standard resolution (720p) | Minimum of 4 Mbps upload speed |
| High resolution (1080p) | Minimum of 6 Mbps upload speed |
| High definition (1080p / 60fps) | Minimum of 10 Mbps upload speed |
| 4K Ultra HD | Minimum of 25 Mbps upload speed |
| Platform | Requirements |
| Twitch | Minimum of 3.5 Mbps upload speed for 720p, 6 Mbps for 1080p |
| YouTube Live | Minimum of 4 Mbps upload speed for 720p, 6 Mbps for 1080p |
| Facebook Live | Minimum of 4 Mbps upload speed for 720p |
🔑Key Takeaways
Your internet connection is the glue that holds all of this together. Use the tables above to make sure your internet service provider gives you the speeds you need!
Software: Take Control Of Your Stream!
This is one of the more technical aspects of building your live streaming setup. It’s always an ugh moment when you know you’re going to have to get to grips with a new software.
But, trust me. It’s worth it.
You can think of live streaming software as a “portal” that helps you go live. It’s what connects all of the hardware you read about earlier in this post to the actual stream.
Most of the live streaming platforms you’re going be using — YouTube, Twitch, etc. — will provide their own basic streaming software. You can just click the “go live” button and it’ll do it for you.
Buuuuuuuut…
I do recommend you go with a more comprehensive third-party live streaming platform. Why?
Because they:
- Provide better features
- Give you greater control
- Allow streaming on multiple channels
- Provide a consistent interface as your audience grows
And, the best part is, the most-used live streaming software by creators is completely free to use.
OBS Studio: Your 1-Stop FREE Streaming Software
OBS Studio is a free and open-source software encoder designed for live streaming. It comes with comprehensive set of features that let you capture, mix, and broadcast high-quality video streams.
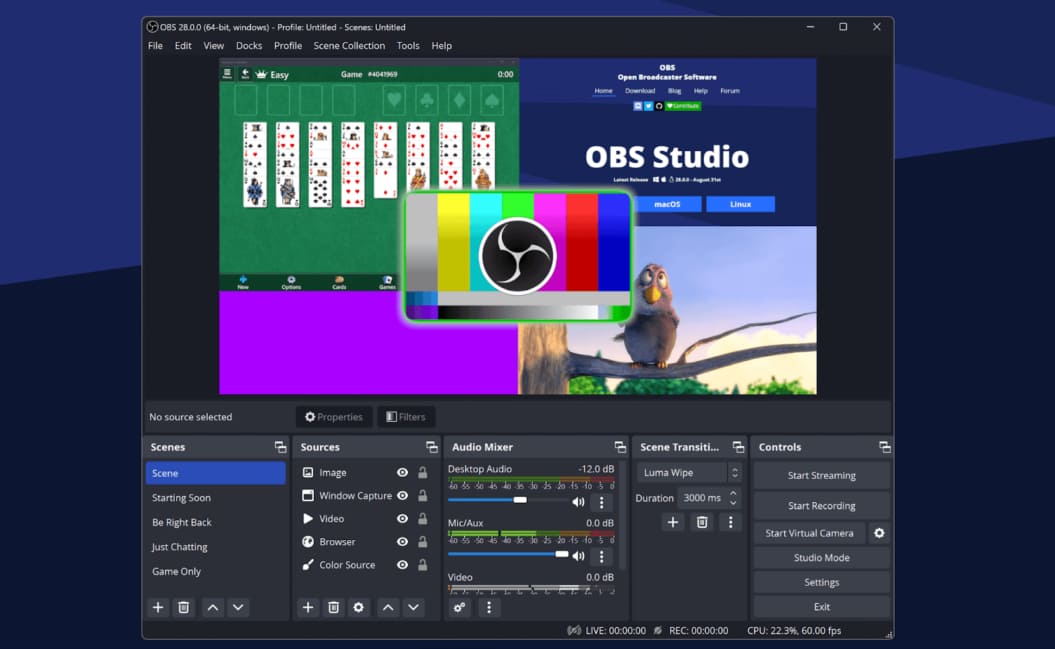
It’s a really versatile software that allows you to capture lots of different types of input and video files. You can use it for simple talking-head style audio and video, or you can stream gameplay from your console!
- Scene creation and switching: organize your content into different scenes, allowing you to seamlessly switch between them during your stream.
- Audio mixer: adjust audio levels, add noise reduction, and create layered visuals using sources like images, text, and browser windows.
- Streaming directly to your platform: stream directly to multiple destinations like Twitch, YouTube, and Facebook Live.
- Customize: personalize your stream layout with overlays, alerts, and transitions.
Like the first time you opened Da Vinci Resolve or Premiere Pro or Cap Cut, it can look a little daunting at first. And, there is a bit of a learning curve.
But, as with most things now, there’s an entire library of free resources on YouTube that will help you get to grips with how to create great audio and video content with it.
🔑Key Takeaways
Streaming software is the “hidden” part of your live streaming setup. Although platforms offer their own in-built options, using a third party software is recommended.
OBS Studio is a free and open-source option that gives you everything you need, with lots of free resources and online communities to learn any extra skills.
The Next Step in Your Setup: Monetize Your Live Streams
One of the best – and most reliable – ways to make money from your live streams is through a video membership.
Whether you want to stick to live streaming or expand to on-demand video content, a membership allows you to put your content behind a paywall and make it entirely exclusive for your members.
These members sign up for access to your exclusive video content and community area, and in exchange they pay a recurring membership fee.
Memberships are a powerful monetization option since they allow creators like you to:
- Earn a scalable, recurring source of revenue.
- Own your branded video platform.
- Monetize and create your content away from an algorithm.
- Host your own private community area alongside your content.
Looking for the right streaming platform for you? Request a walk-through below.
Ready to explore how Uscreen’s reliable, scalable solution is helping customers monetize live events through pay-per-view, on-demand content, and memberships?
Wrapping This Up…
You don’t need to break the bank to get started live streaming. Most of the equipment you need, you already have. And any extras often come in at under $100.
It’s best to focus on 4 key areas:
- Audio quality: get a microphone and a streaming location that makes your vocals crisp
- Video quality: use the best camera you can, add lights and tripods where possible
- Software encoder: use OBS Studio for a comprehensive free tool
- Internet connection: make sure your internet speeds can sustain a quality stream
Now all that’s left to do is get out there and stream!
FAQs
No, it doesn’t need to be expensive to stream. If you’re already creating video content, you likely have all of the live streaming equipment setup you need to create a high-quality live stream. But you can also get by – at least for your first few streams – on the same live streaming gear you’d use for a video call. Software, like OBS Studio, also comes for free.
You can start earning small sums of money within the first 3-6 months of live streaming. Each platform has their own payout thresholds to meet, so it’s worth looking into how your platform operates.
Earning enough to replace your current income, though, can take a lot longer. It’s recommended to build a more sustainable business alongside your streaming, where you can monetize your audience, like an online community on a platform like Uscreen.
You don’t need a capture card if you’re recording and streaming from the same computer. However, if you’re streaming from multiple PCs or devices you will need one.